
If you miss even one, you’ll have to go through the whole chapter again: here are all the collectibles from Chapter 12! We continue our journey through Doom: The Dark Ages. Today, we will review all the collectibles that you can find in Chapter 12 – Sentinel Command Station. I also recommend reviewing Chapter 11 Hellbreaker. All the hidden locations you need to complete the mission 100%.
As a result of this guide, you will complete Chapter 12 – Sentinel Command Station 100% and receive:
- Gold: 177
- Ruby: 1
- Wraithstone: 1
- Demonic Essence – Health: 1
- Secrets: 9
- Codex Entries: 1
- Collectible Toys: 1
- Weapon Skin: 1
- Quests: 3
I also recommend watching the video if you don’t want to search for all the collectibles mentioned in this article. The video shows everything briefly and clearly:
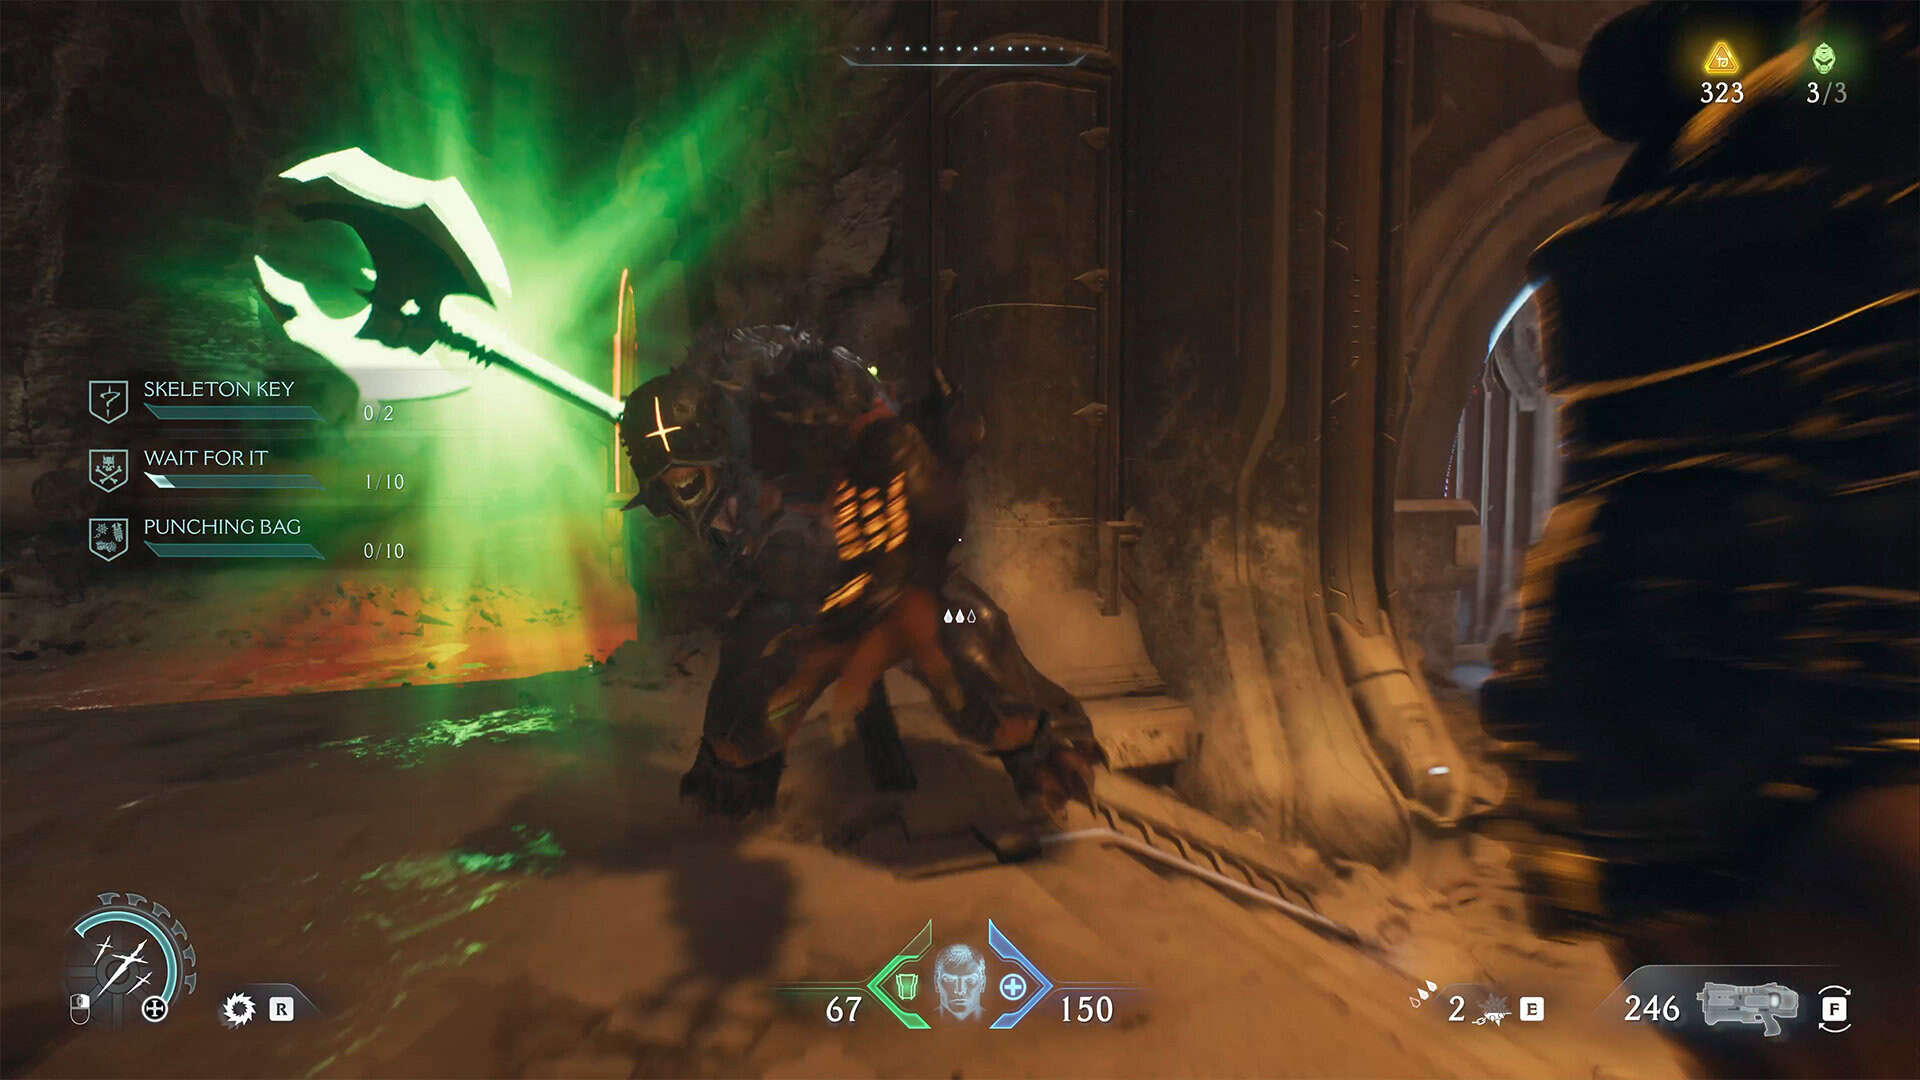
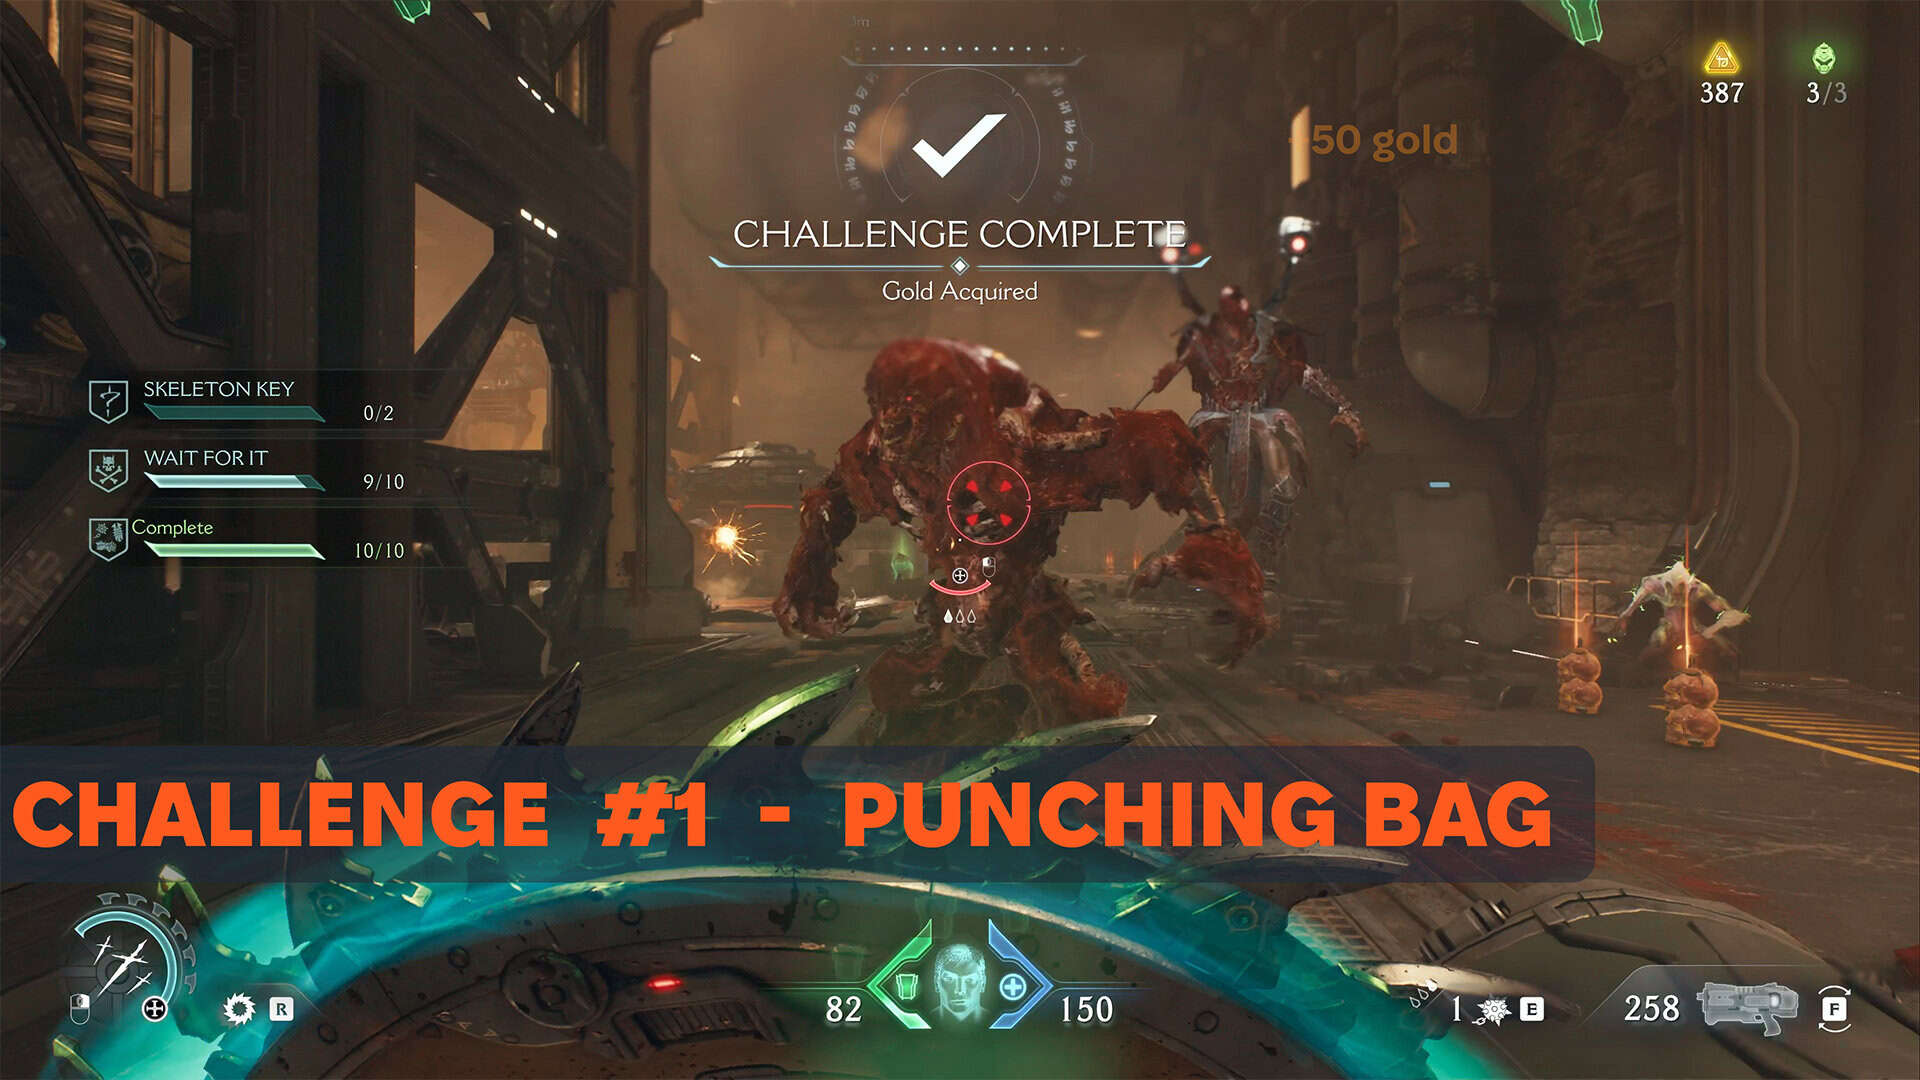
Punching Bag Challenge
First, let’s take a look at all three challenges available to you in this chapter. The first one is called Punching Bag. You need to hit a special monster 10 times with a melee attack. These are Battleknights. They are a kind of knights who wear armor and attack you while jumping with a battle axe. You will find at least one such monster in every major battle.
-

- Punching Bag Challenge
-
- Punching Bag Challenge complete
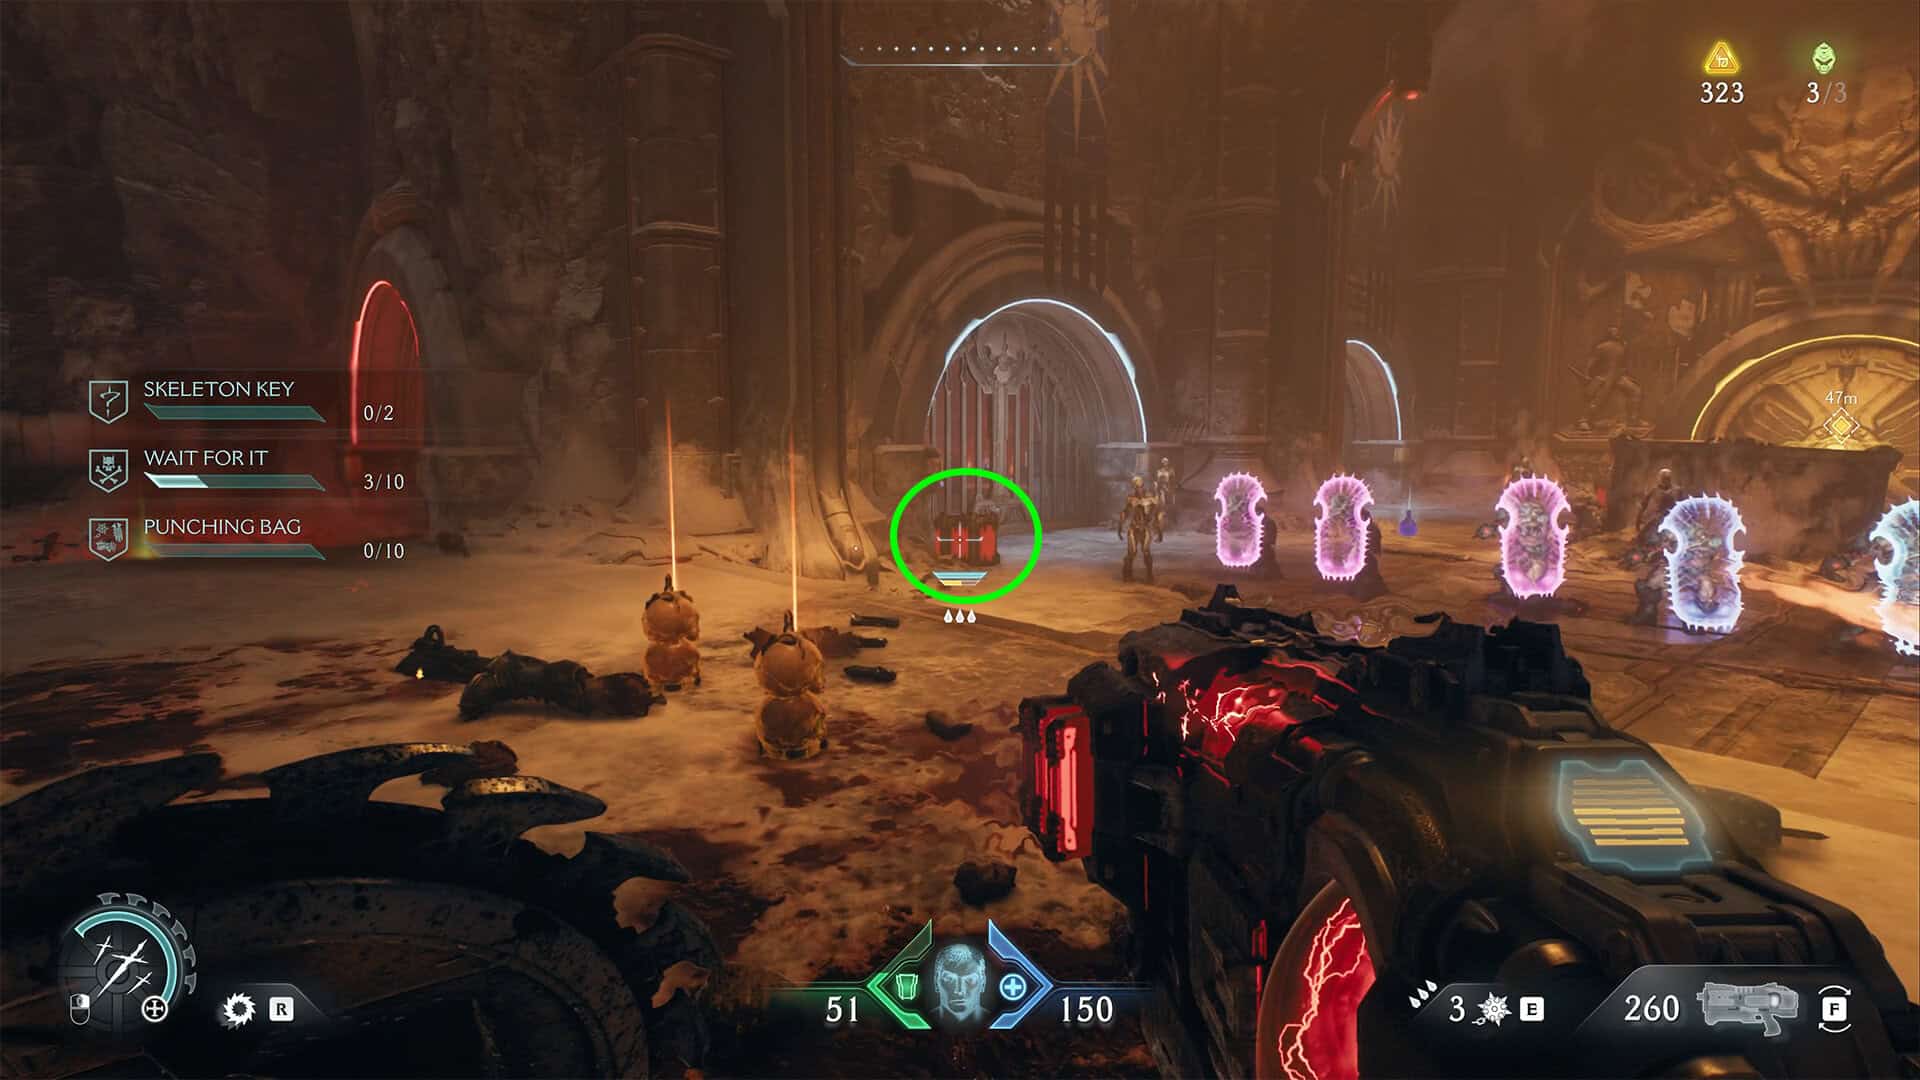
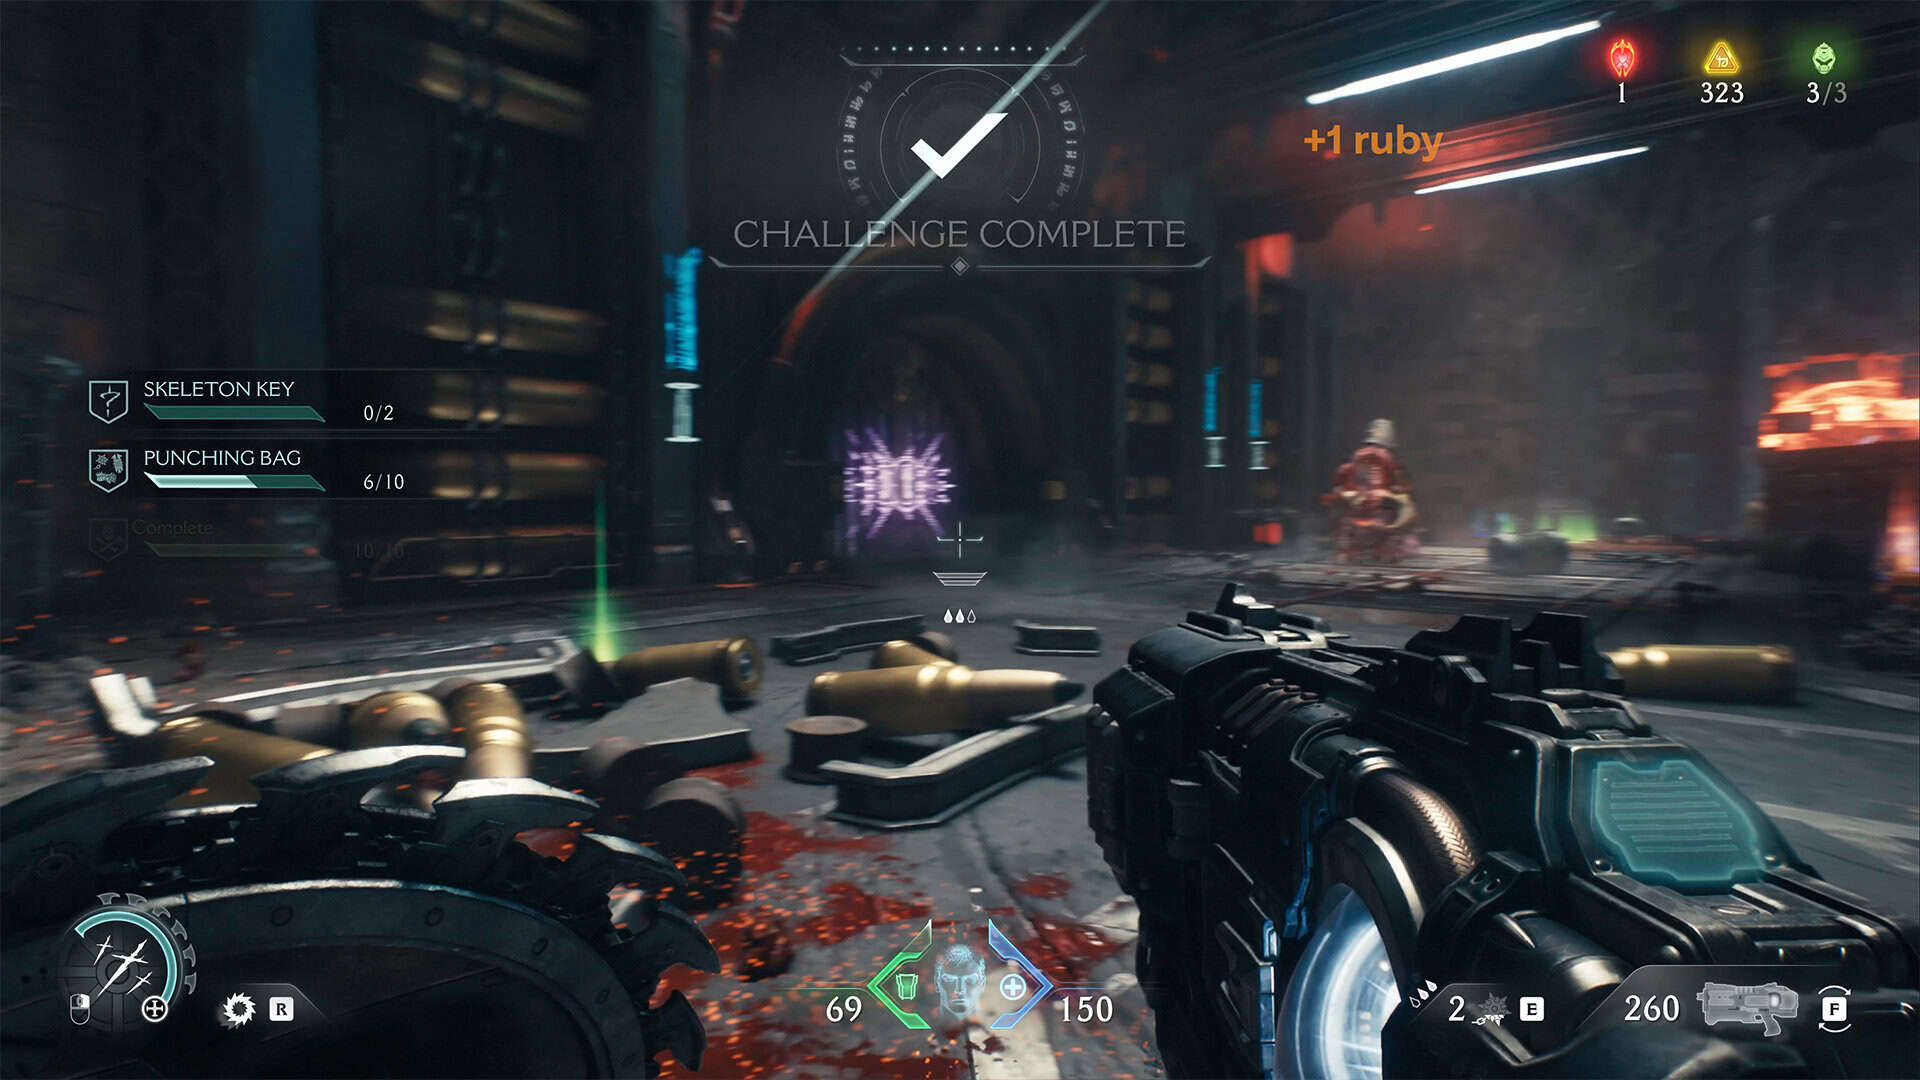
Wait For It Challenge Doom
The second challenge is Wait For It. You need to kill 10 monsters using red barrels that explode when you shoot them. There are lots of these barrels everywhere, so you won’t have any problems completing the task.
-
- Wait For It Challenge Doom
-
- Wait For It Challenge Doom complete
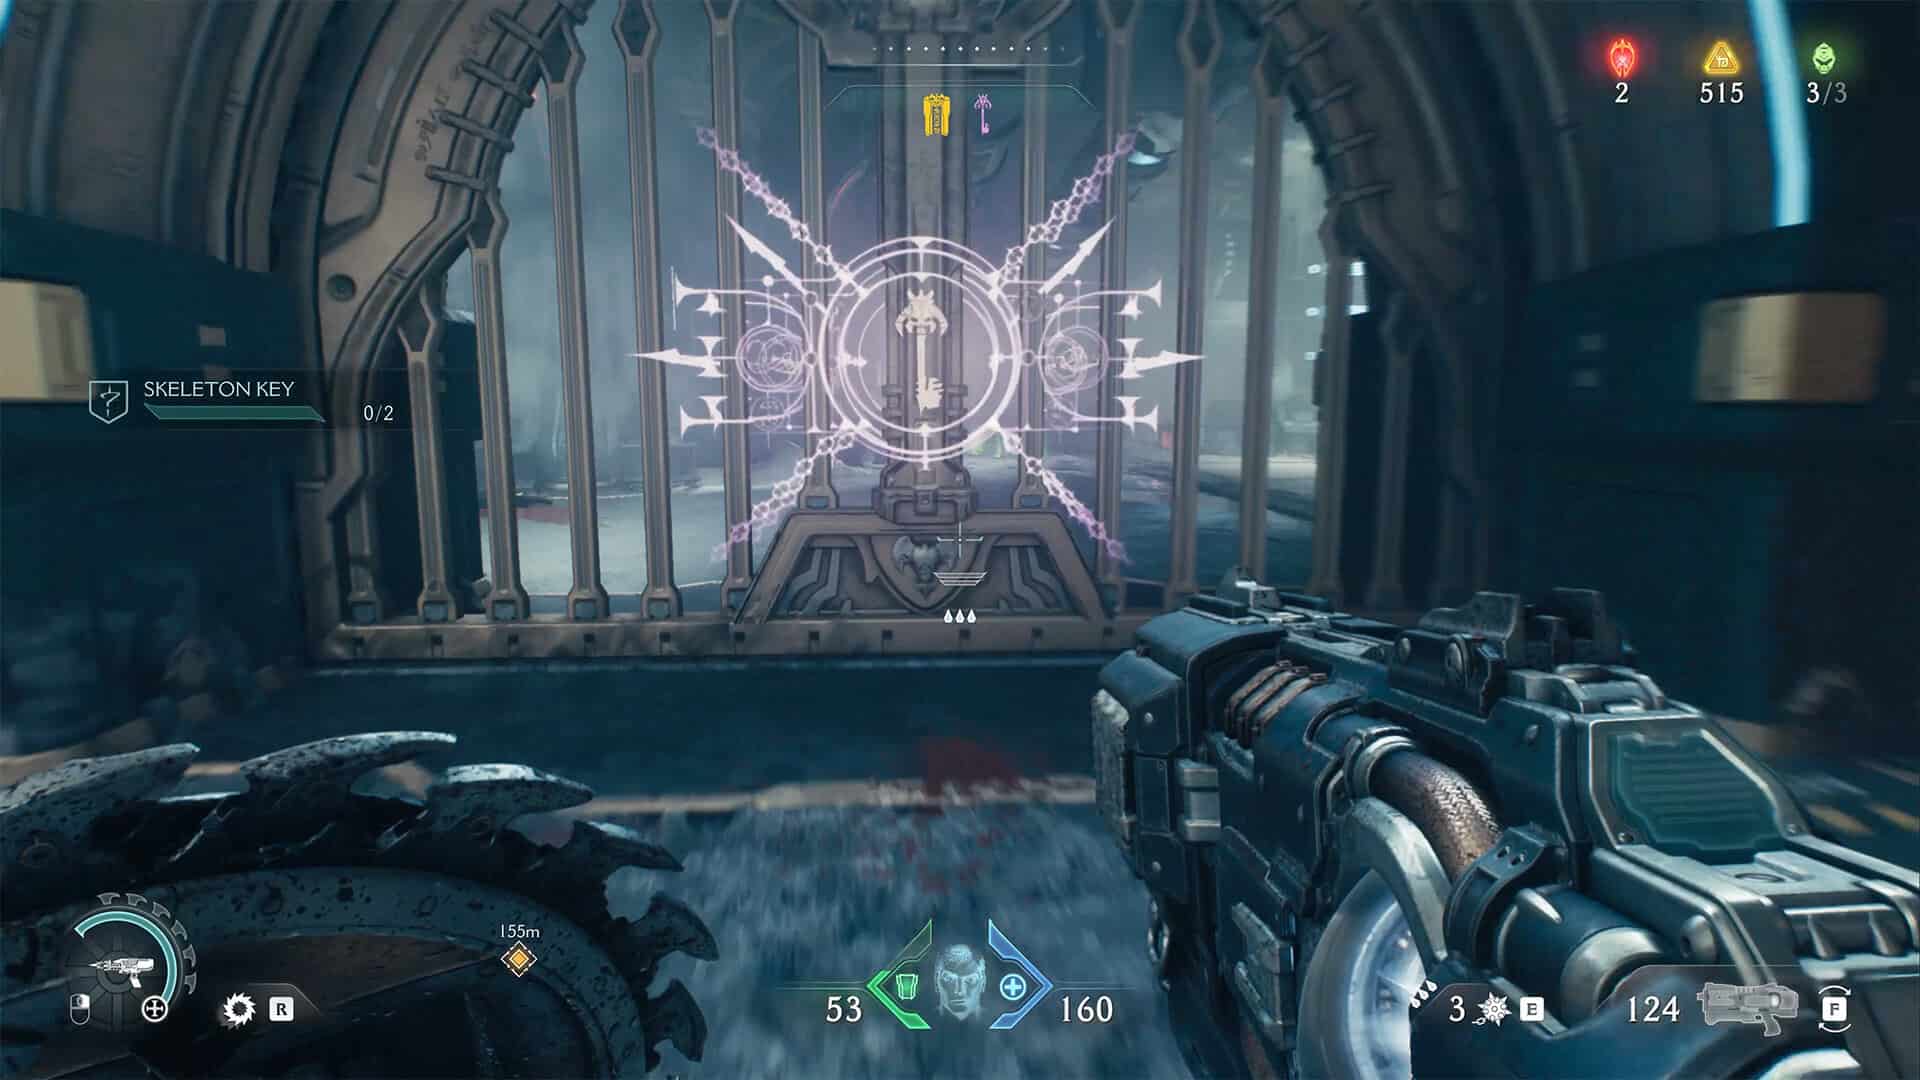
Challenge Skeleton Key
You will complete the last Skeleton Key challenge automatically if you follow my guide. Here, you need to use the secret purple key to open two secret doors. You will do this at the end of the chapter when you receive the key.
-
- Challenge Skeleton Key
-
- Challenge Skeleton Key complete

Sentinel Command Station gold bar
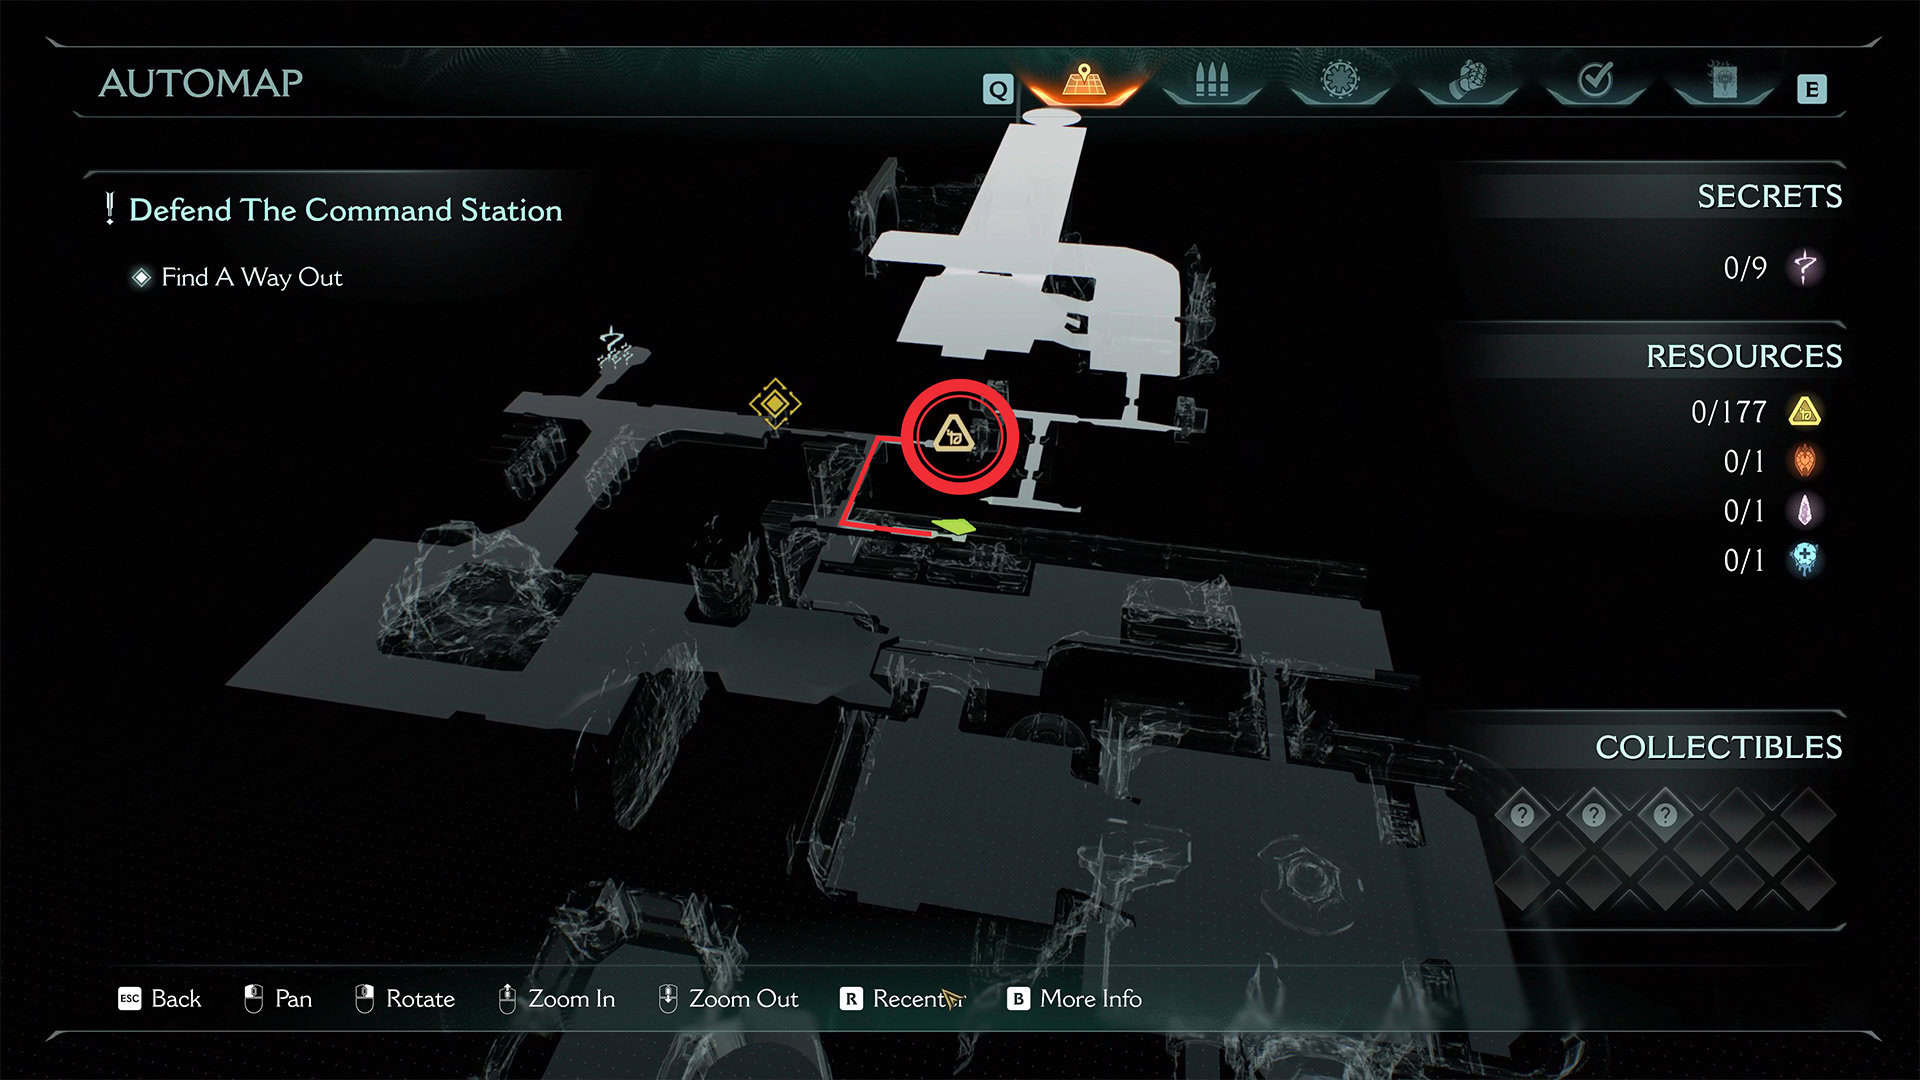
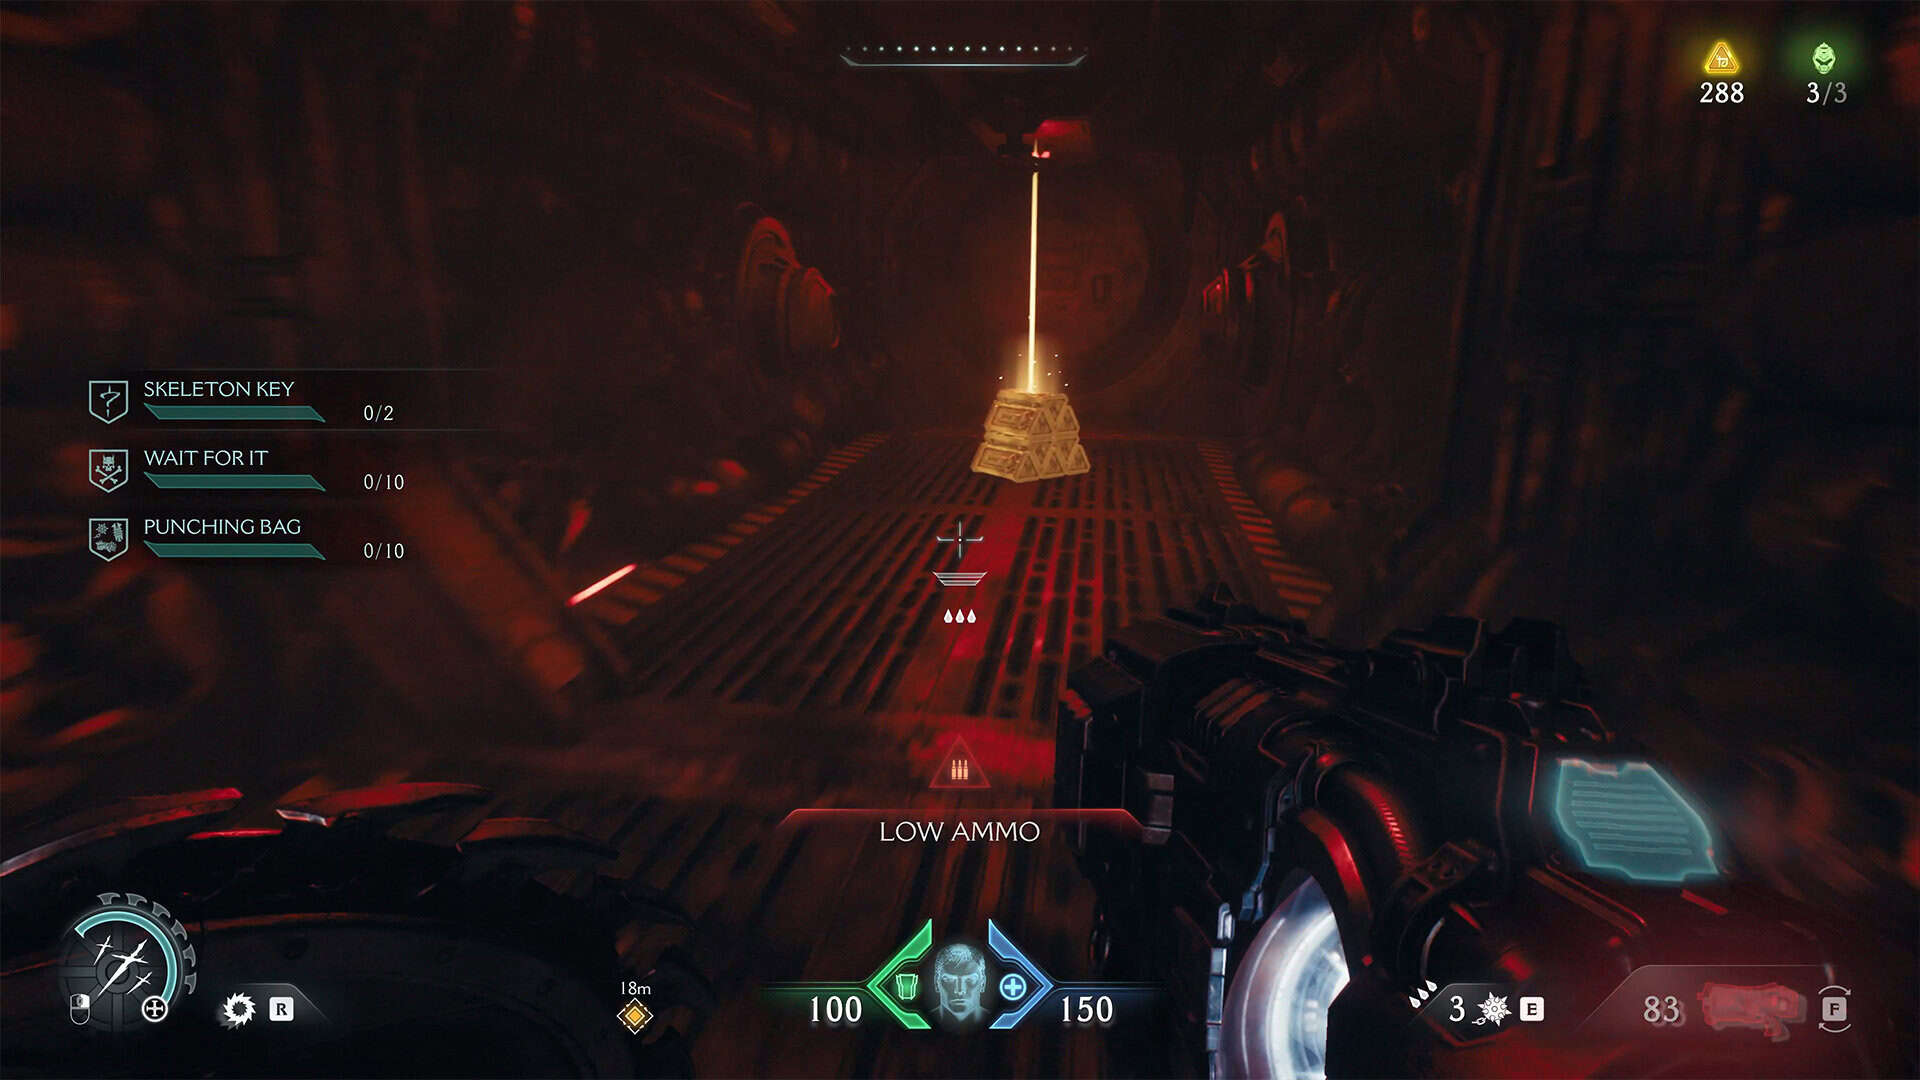
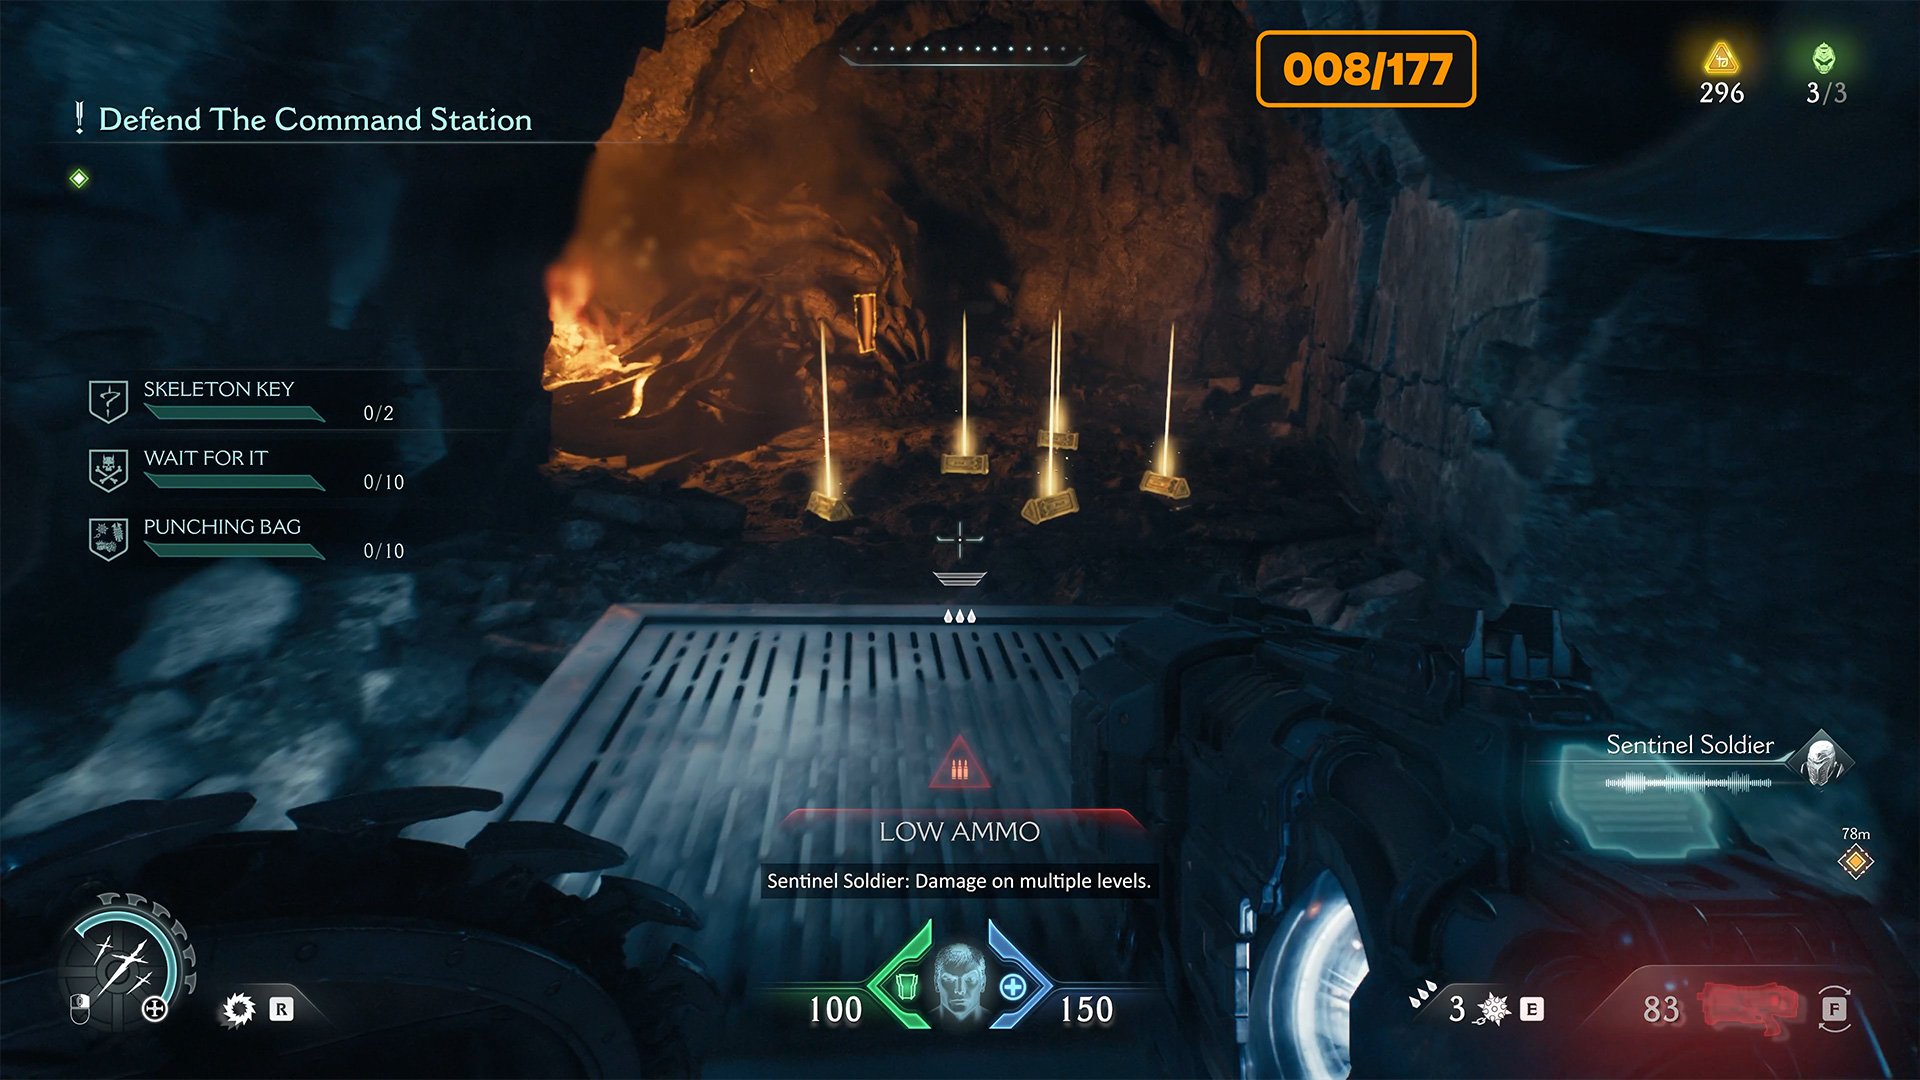
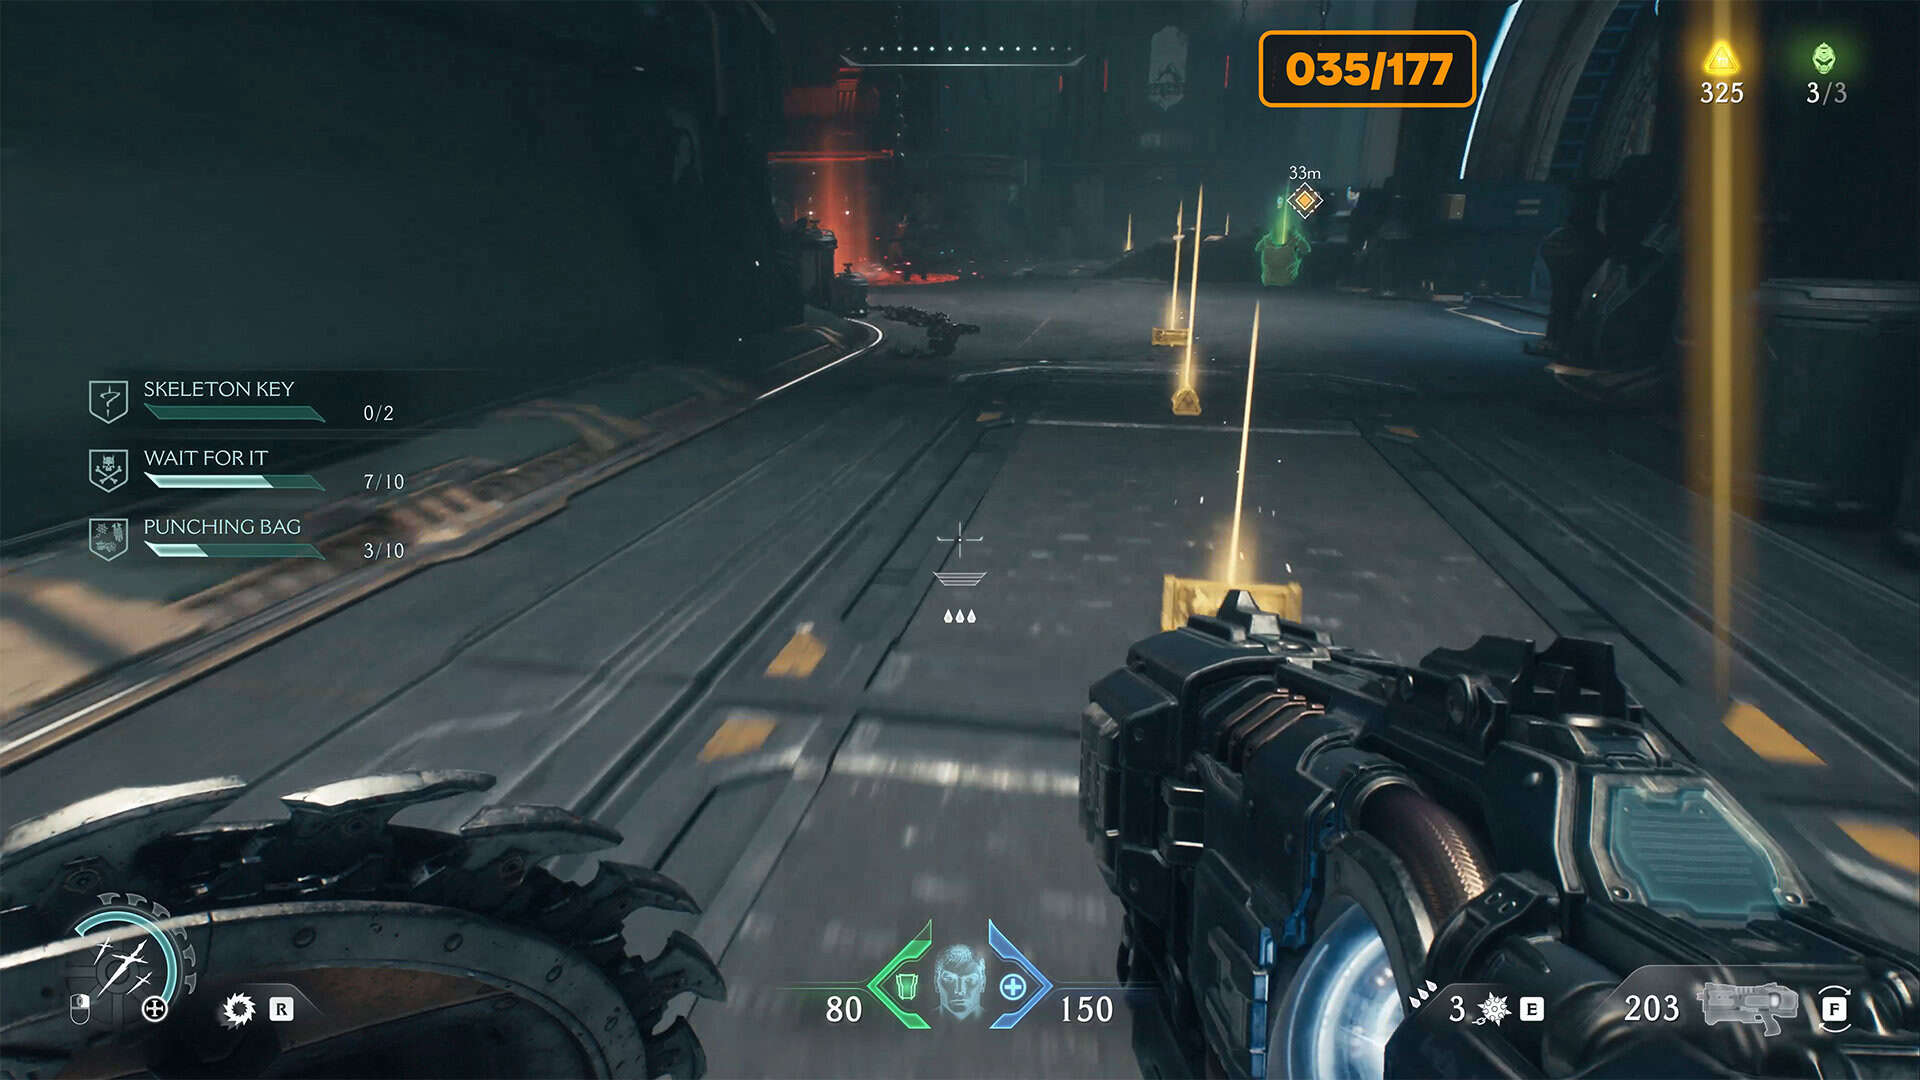
As soon as you descend into the ventilation shaft, you will see gold on the map that you can collect. There are 8 gold coins here. Just don’t walk past them, they are in a small corner.
-
- Sentinel Command Station gold bar location
-
- Sentinel Command Station gold bar
Sentinel Command Station codex
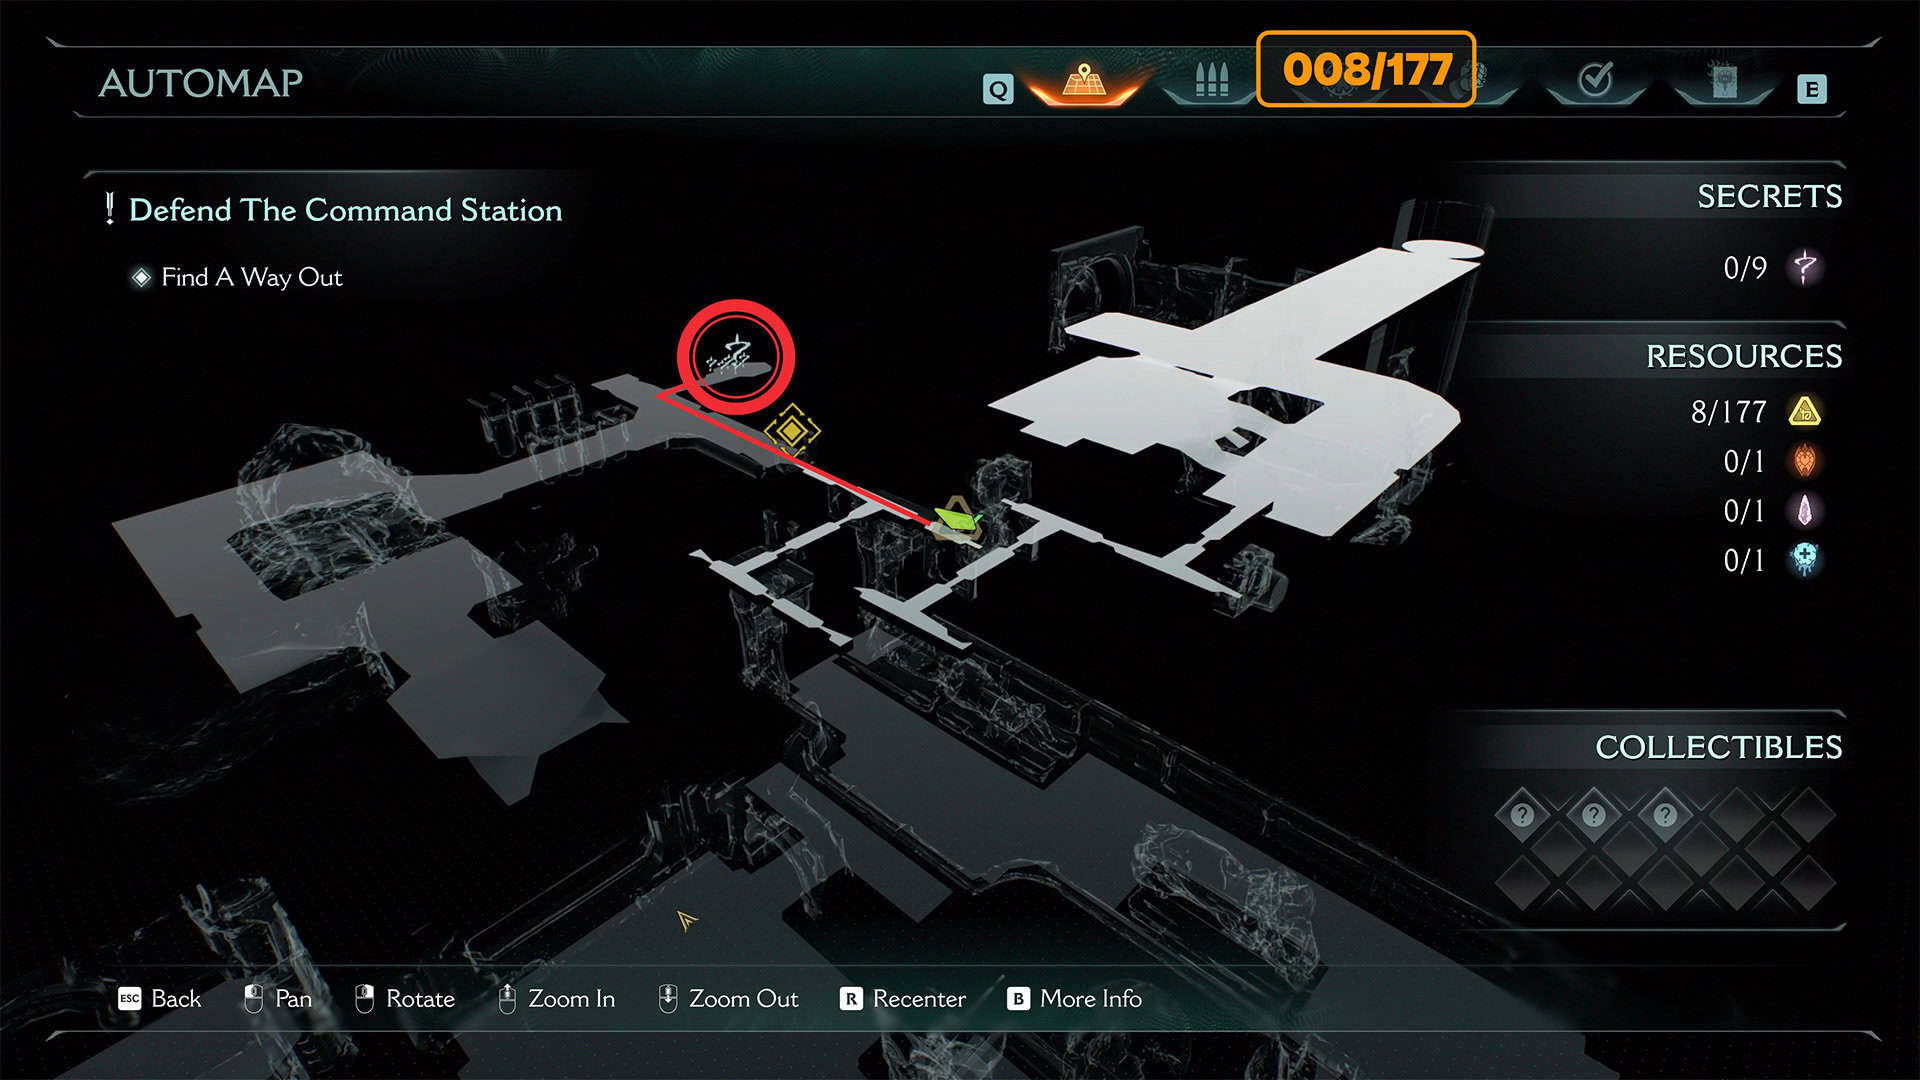
Turn around from your previous location and go straight ahead. For now, skip the passage on the left and go to the end of the path I showed on the map. There will be a small cave on the right where you will find a page of the codex and 5 gold coins. Collect everything and return to the passage you skipped.
-
- Sentinel Command Station codex location
-

- Sentinel Command Station codex
Sentinel Command Station Weapon Skin
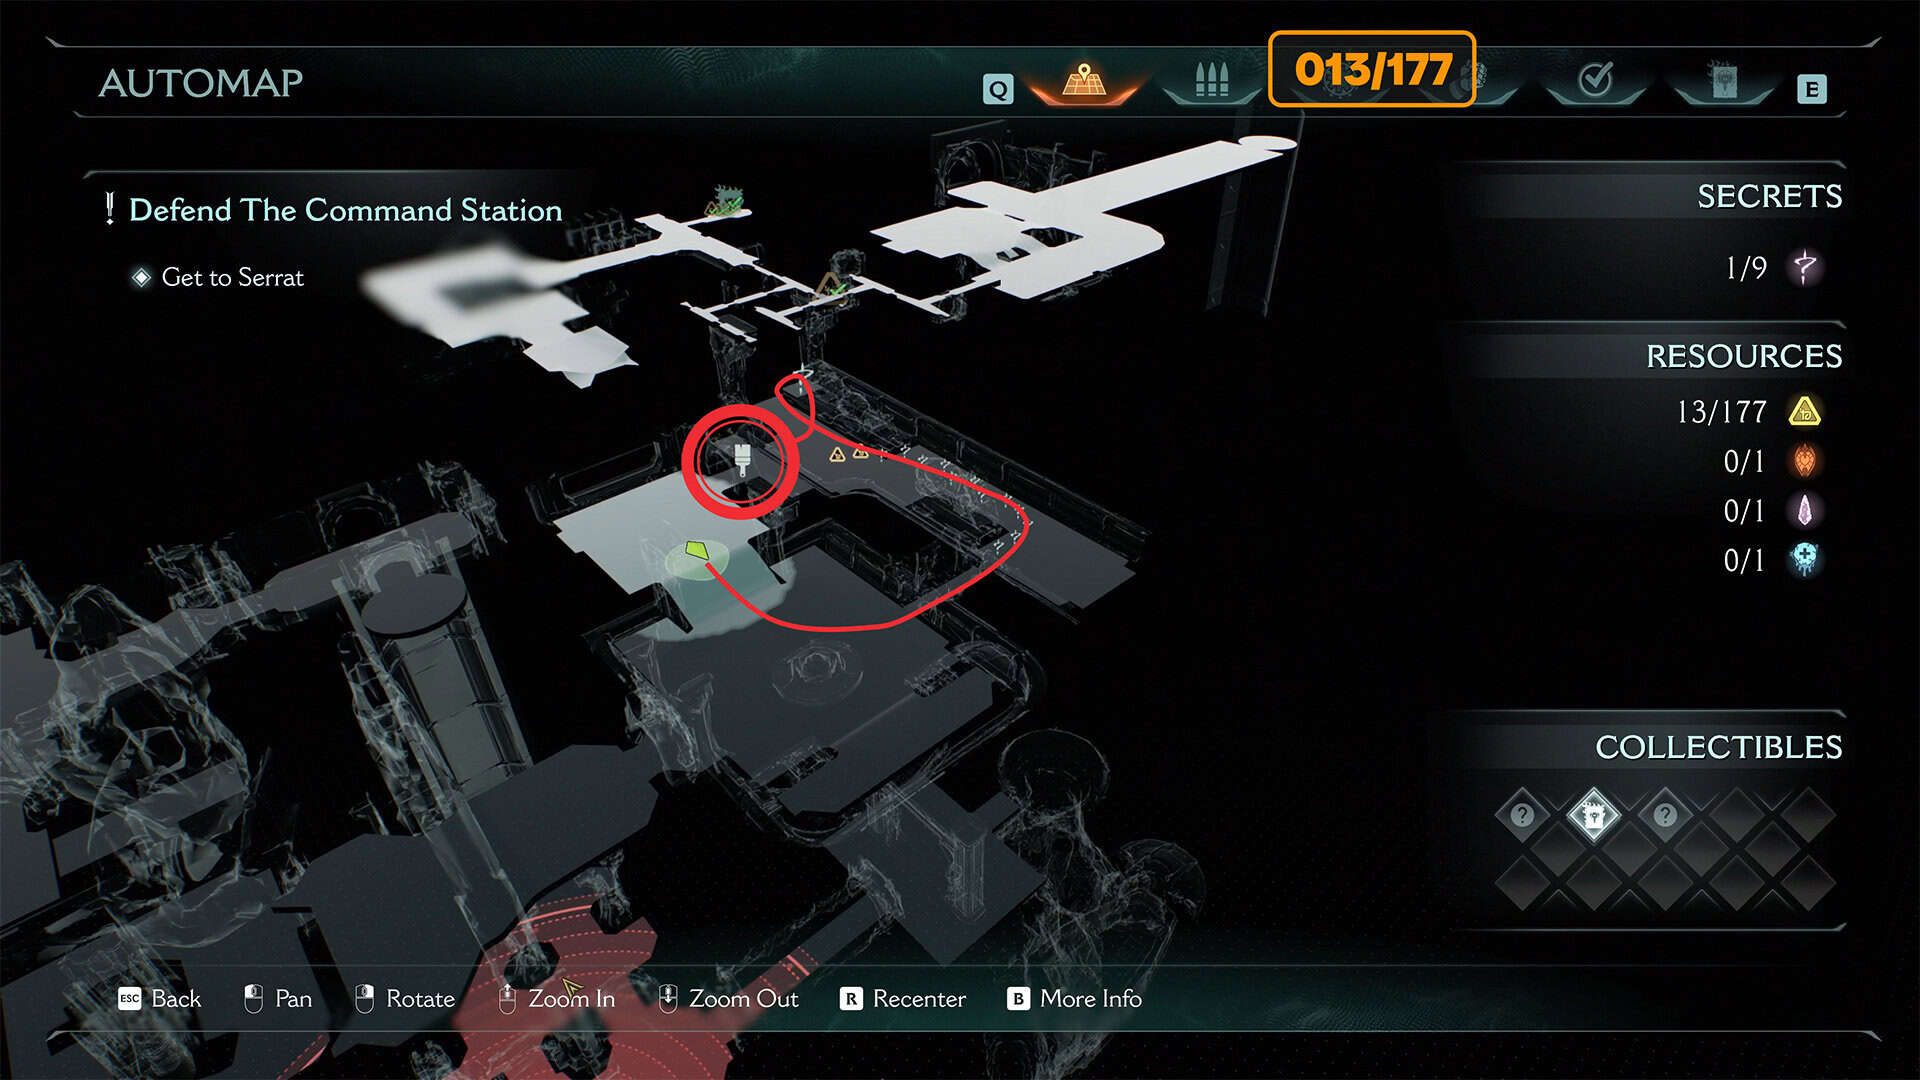
Continue moving until you jump into the control room. Here, carefully follow the route I showed you on the map. On the wall to your left, you will see a ventilation grate that you can break with your shield. Inside, you will find another secret and a lot of gold on the floor.
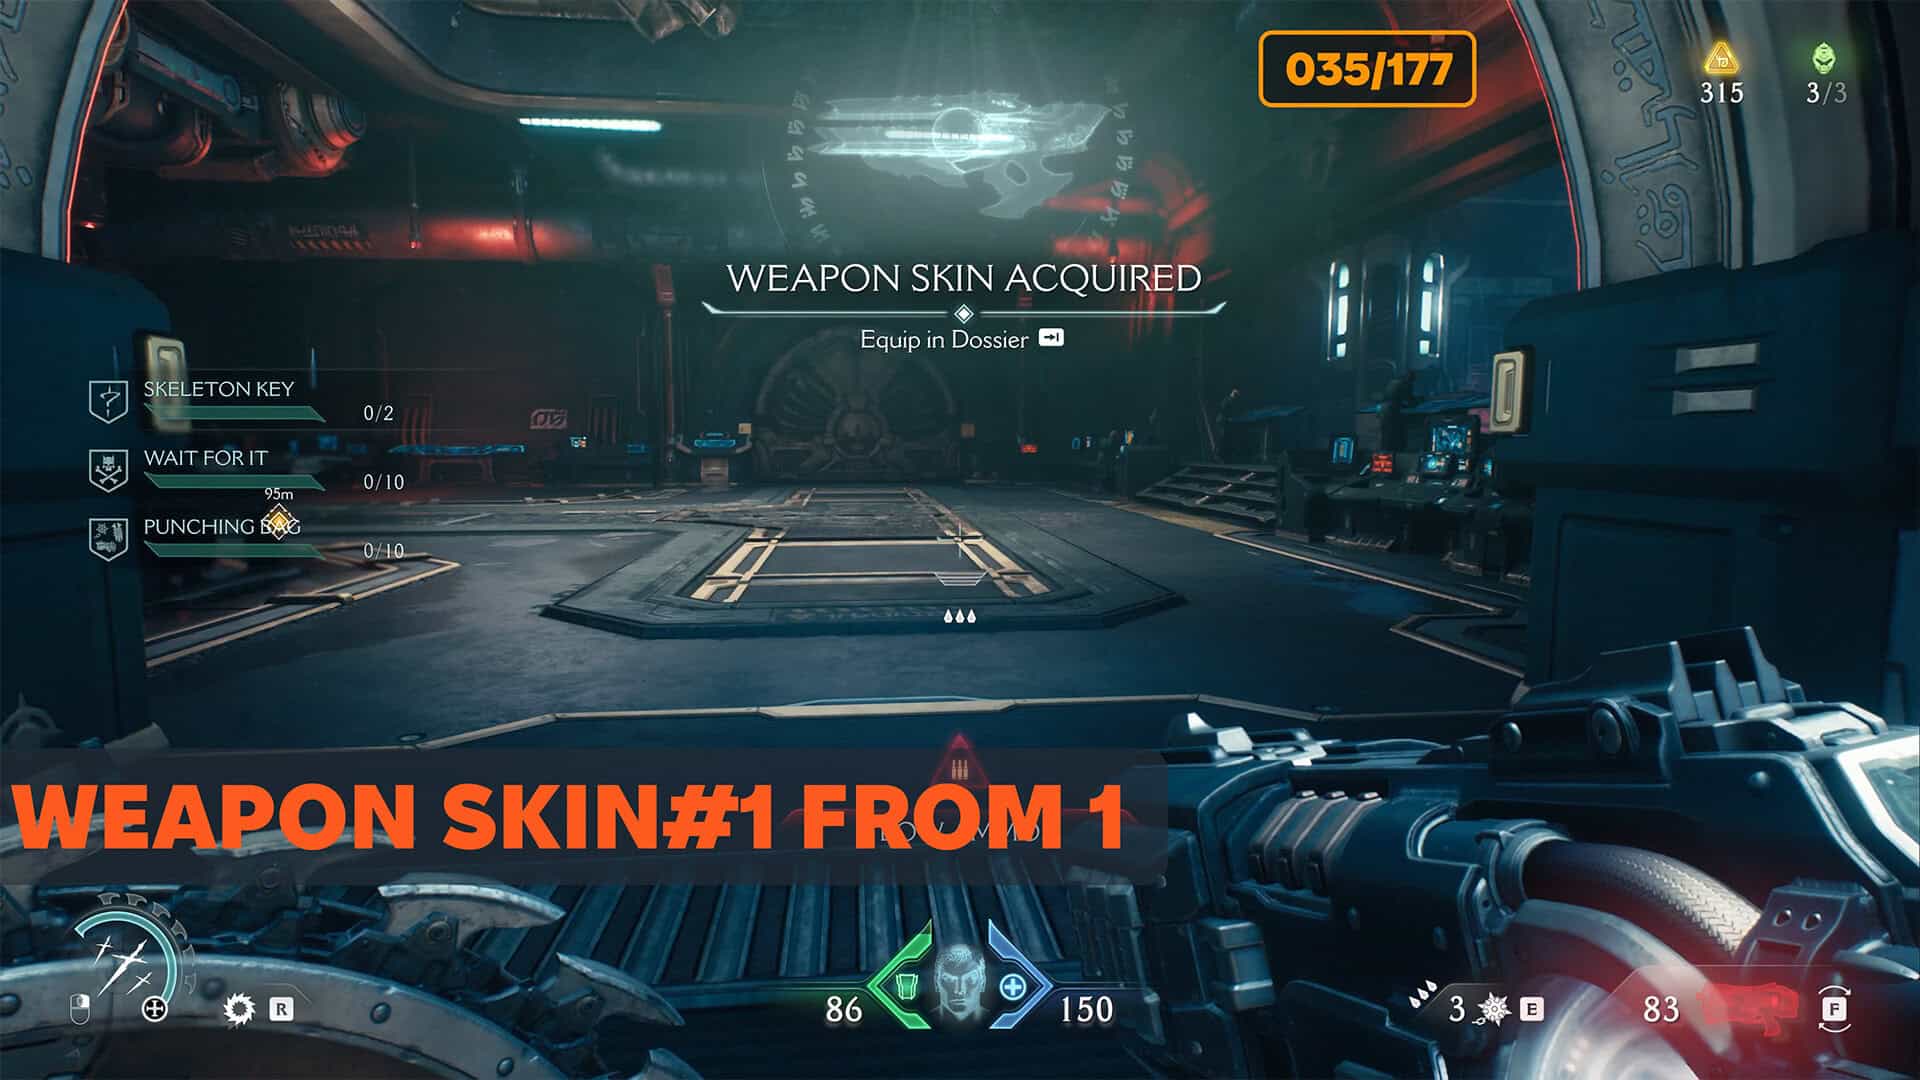
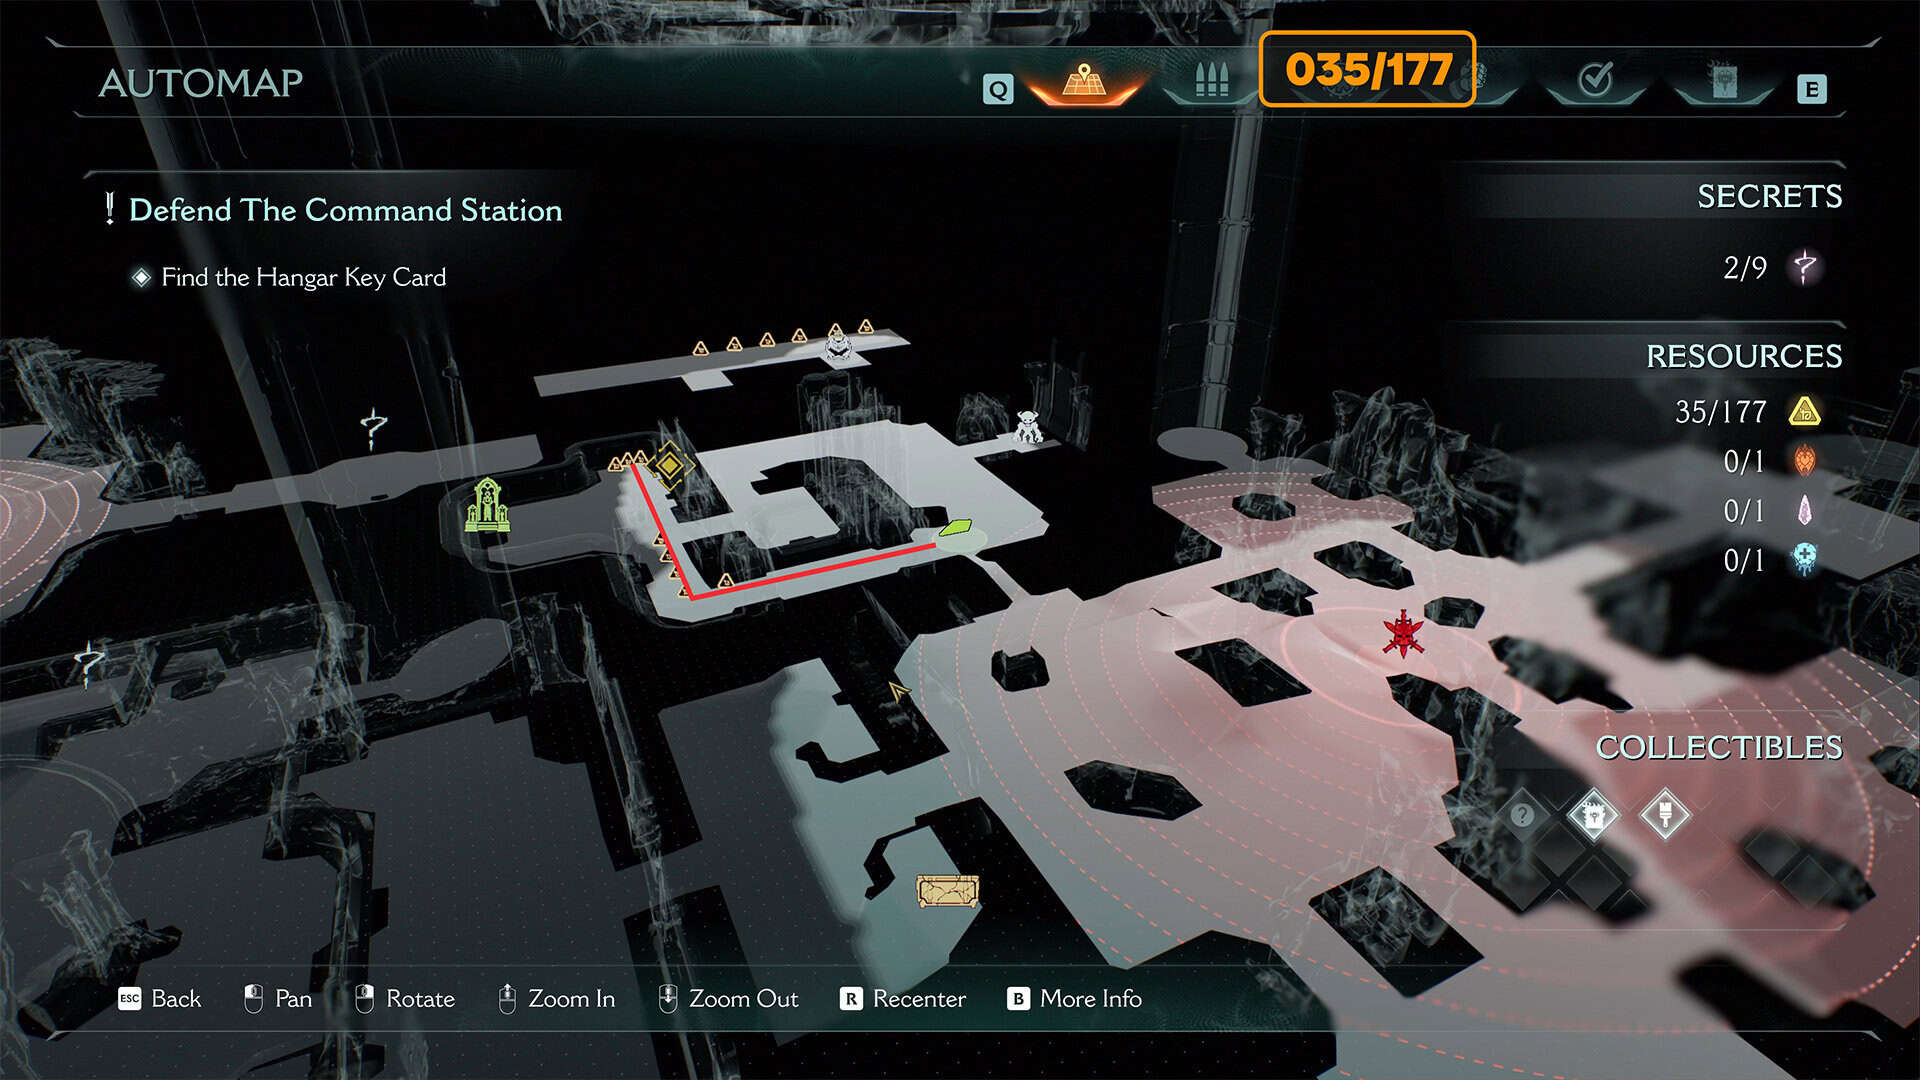
After clearing the room of monsters, don’t forget to pick up 8 gold coins in the far part of the room, at the back of the transport platform. In total, you will find 22 gold coins here. And at the end, pick up the Weapon Skin.
-
- Sentinel Command Station Weapon Skin location
-
- Sentinel Command Station Weapon Skin
Sentinel Command Station gold coin
Next, you will face a big battle. After that, go to the room next door. Here, you will press a button on the console to open access to another room. In total, you can collect 8 gold coins near the Sentinel Shrine. You will notice a closed door here, but you will return to it when you get a special key.
-
- Sentinel Command Station gold coin location
-
- Sentinel Command Station gold coin
Sentinel Command Station secrets
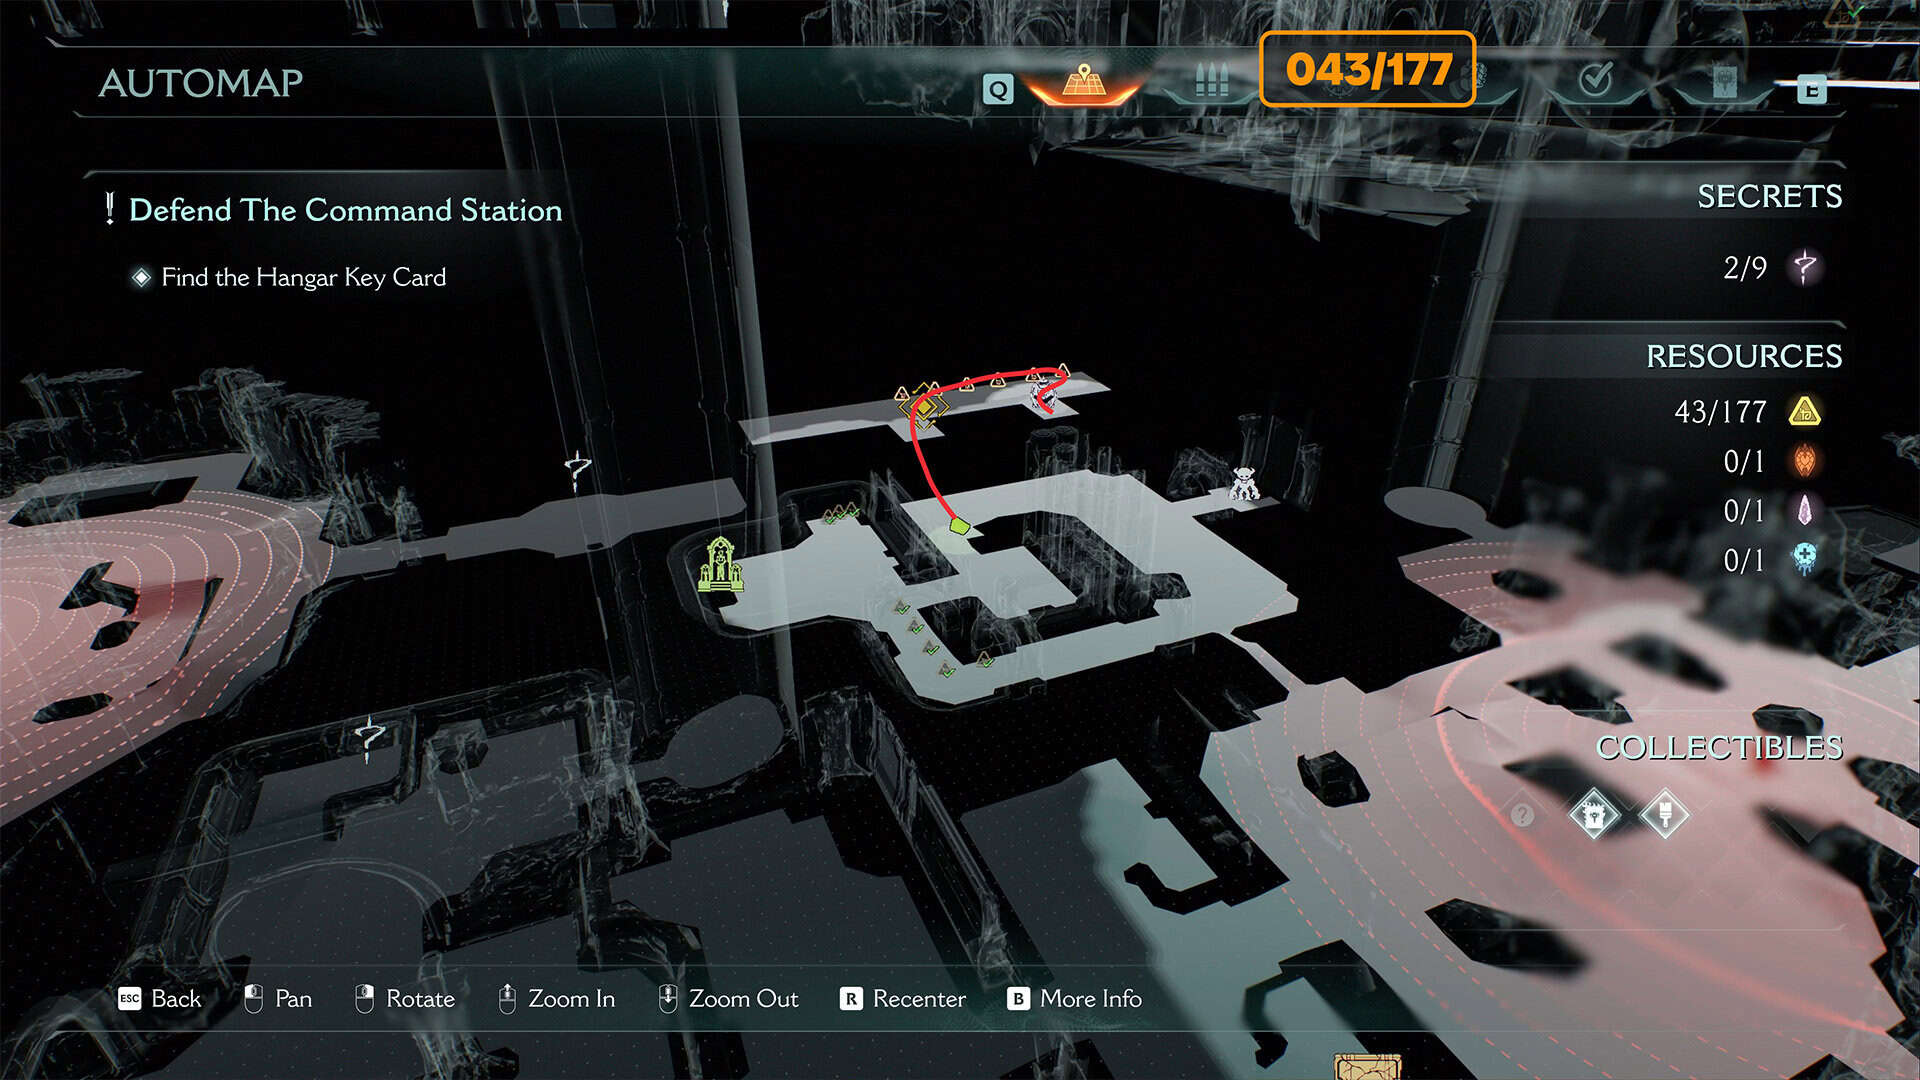
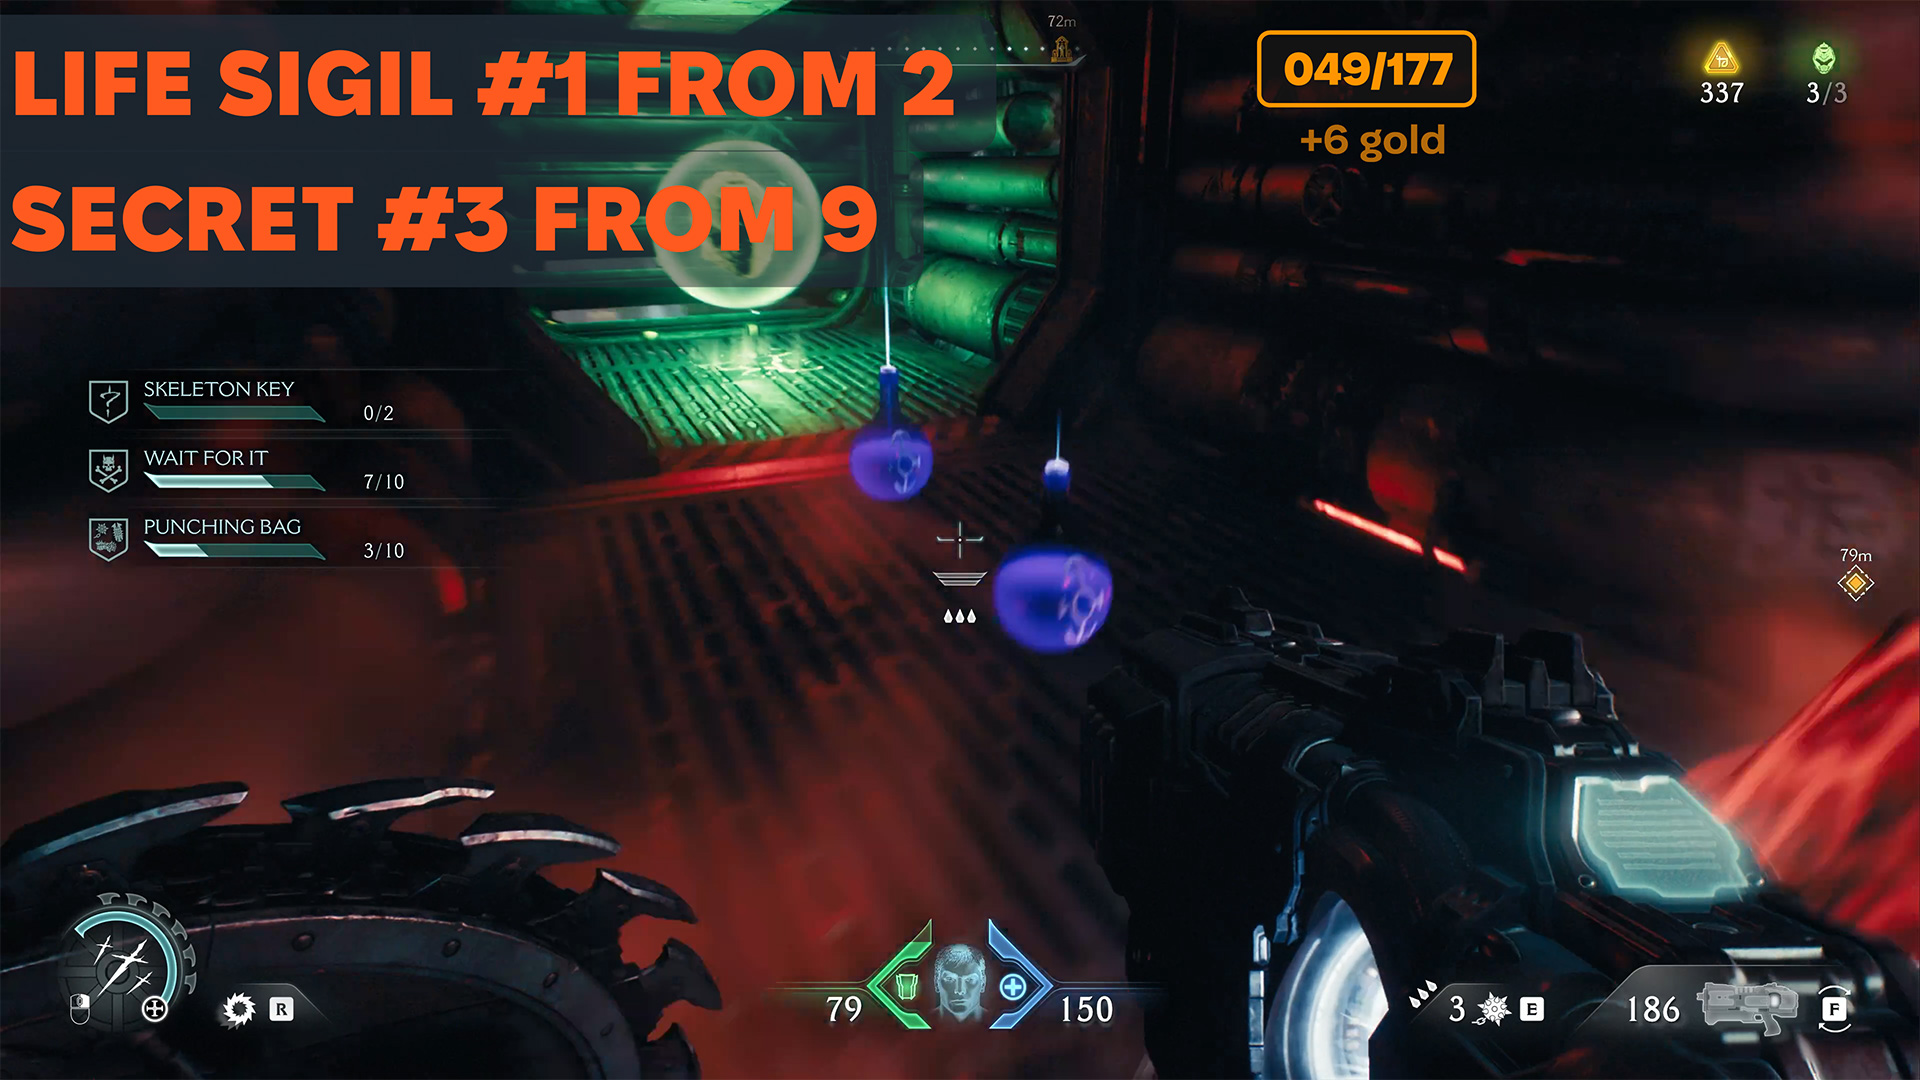
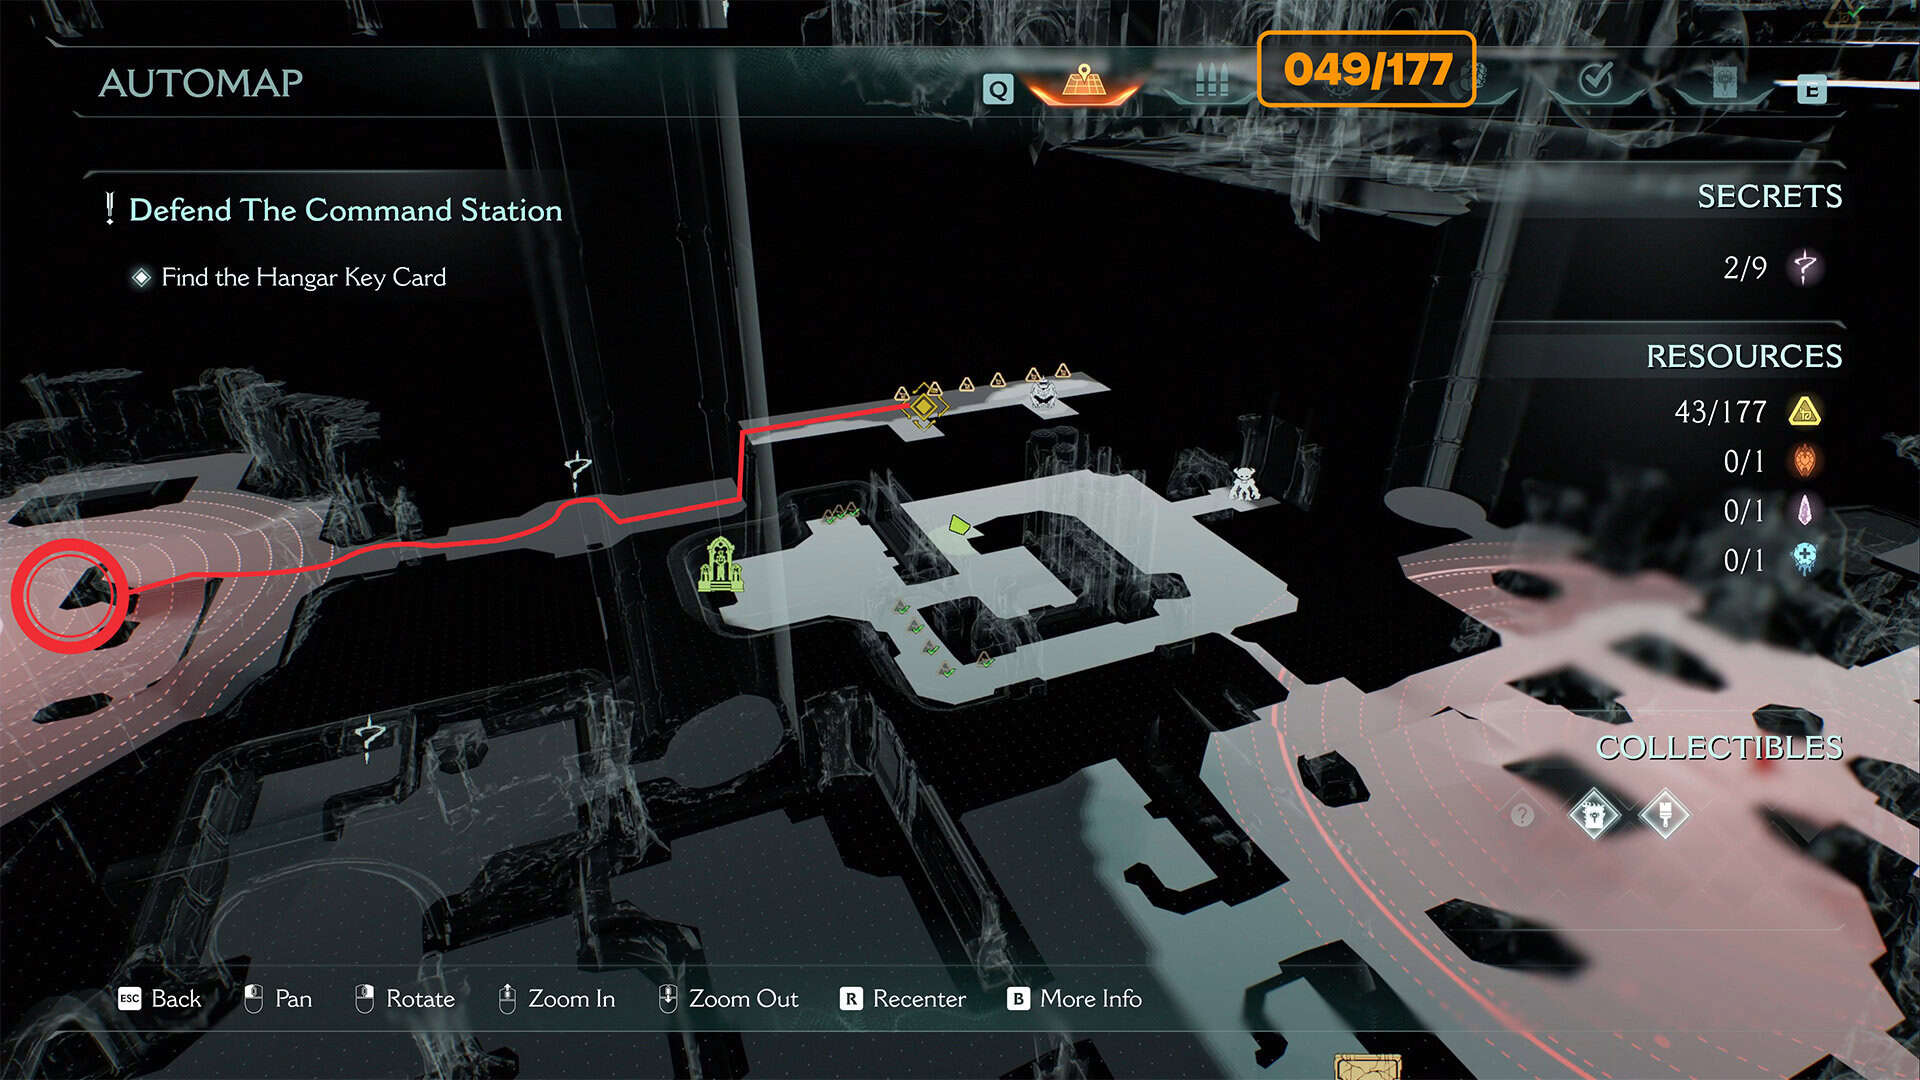
Next, press the button on the console again to open the next room. Climb into the ventilation shaft. When you climb up, turn right and you will find 6 gold coins. Be sure to visit Life Sigil, where you will find another secret that you need.
-
- Sentinel Command Station secret location
-
- Sentinel Command Station secret
Sentinel Command Station Demonic Essence Health
Now turn around and walk through the mine to the red zone. Along the way, you will receive the Ravager weapon. After that, enter the big battle. At the end of the battle, the mini-boss Pinky Rider will appear. After defeating him, you will automatically receive Demonic Essence Health.
-
- Sentinel Command Station Demonic Essence Health location
-
- Sentinel Command Station Demonic Essence Health

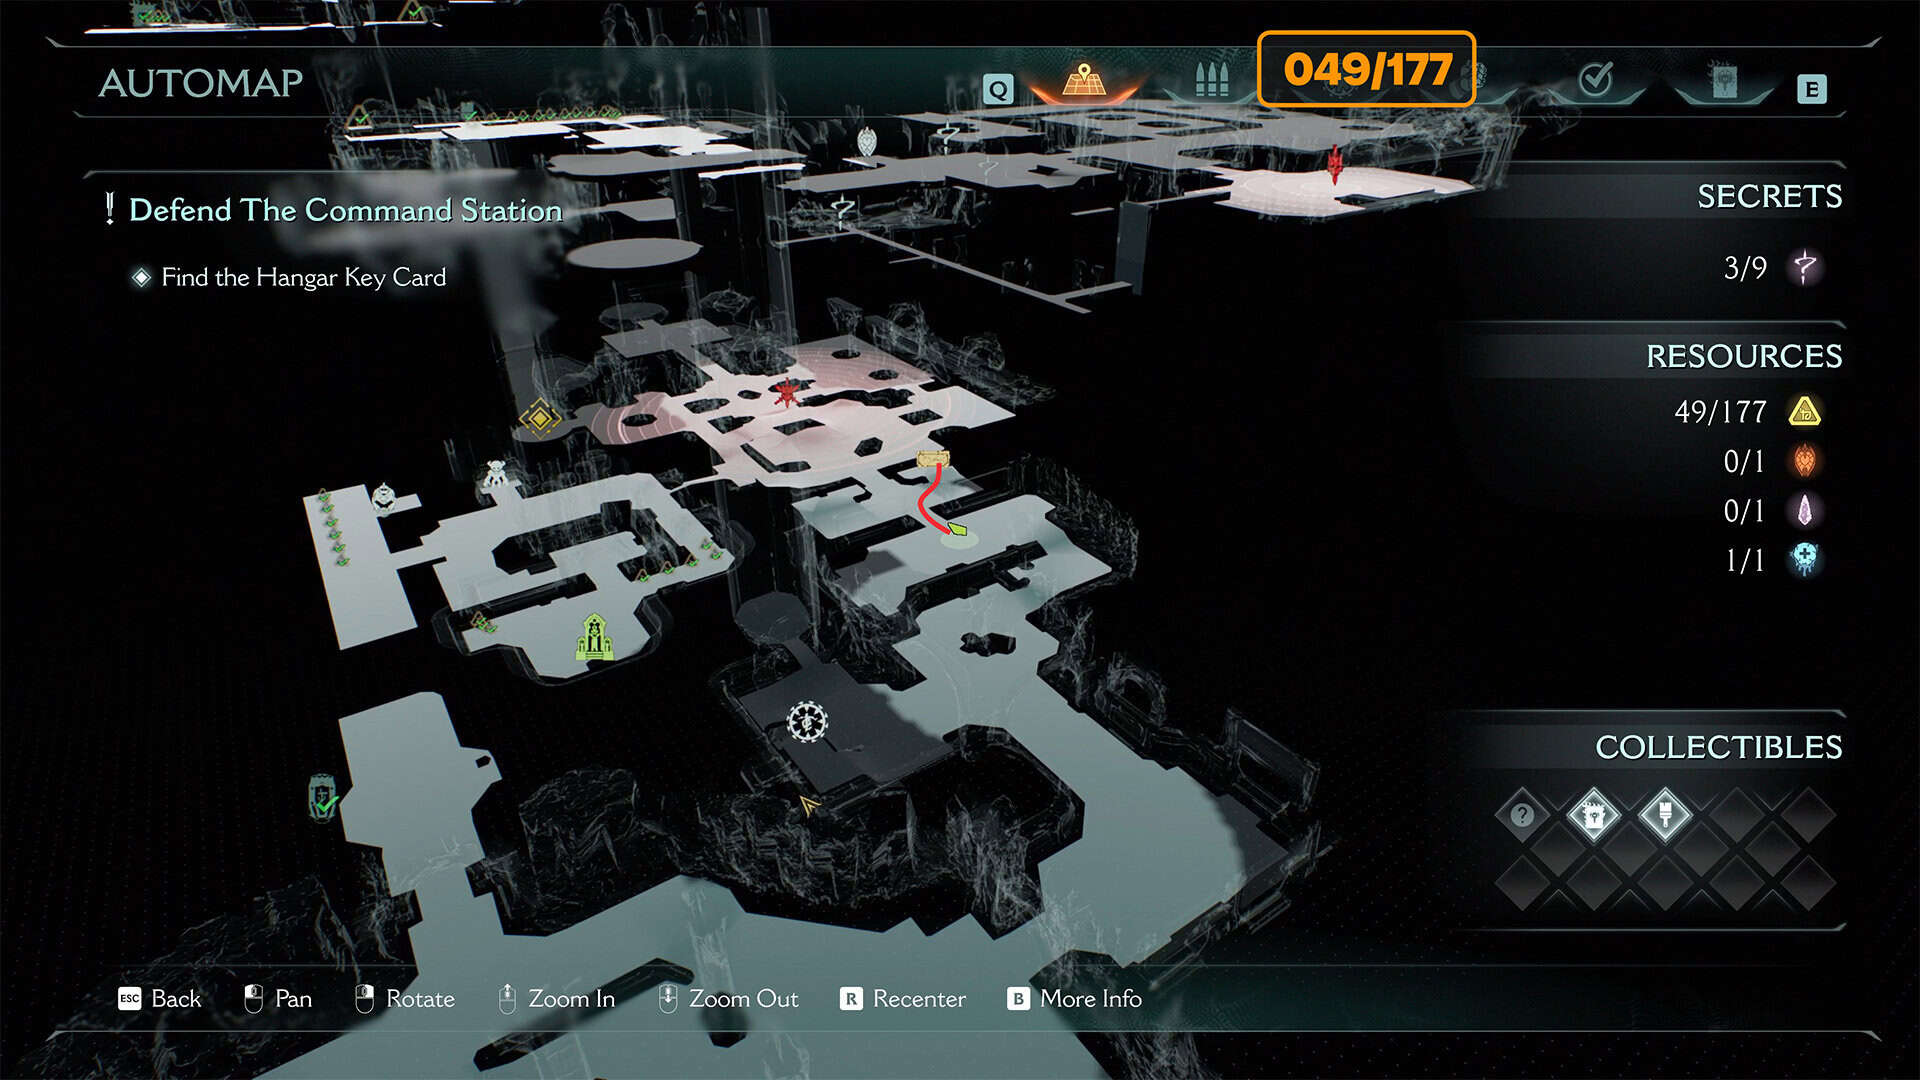
Sentinel Command Station chest locations
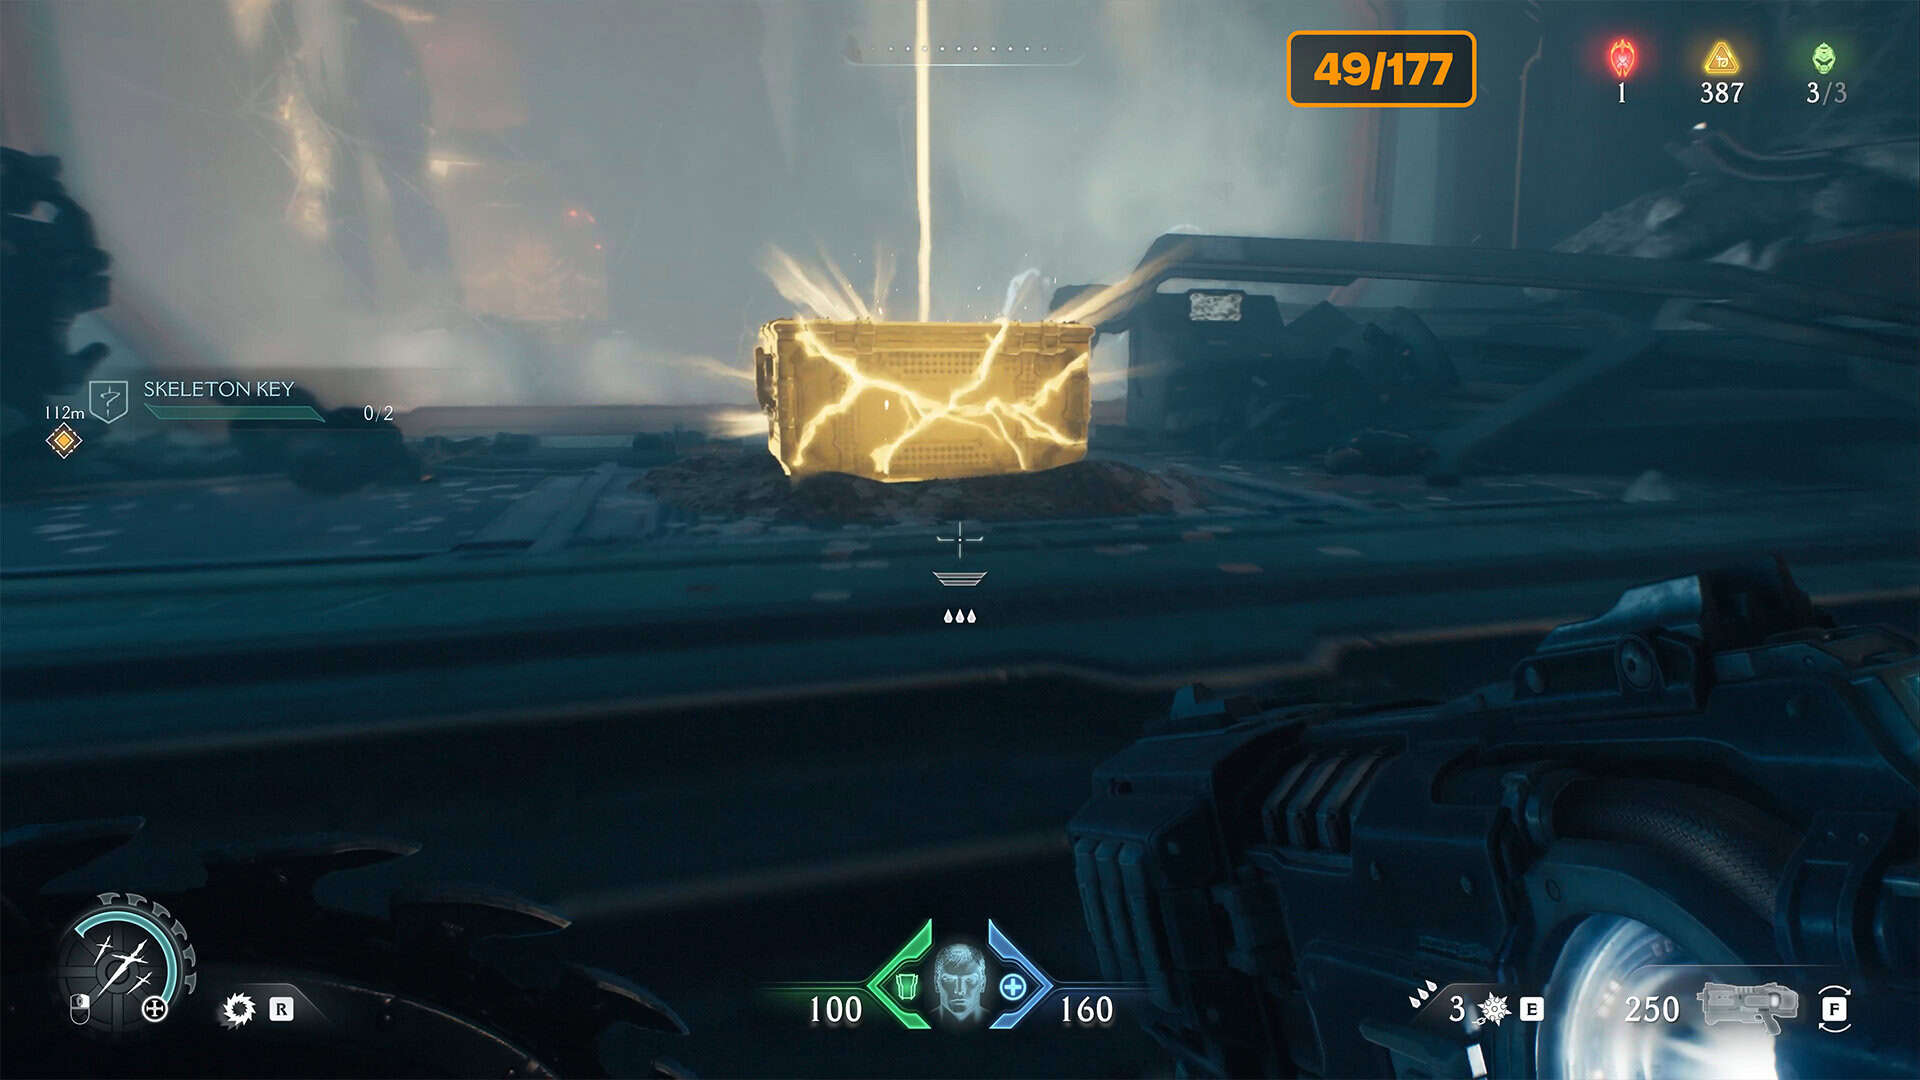
Continue following the map. In the room where you need to press the button on the left side of the console to open the door, you will find a chest with 50 gold coins on the right side of the room.
-
- Sentinel Command Station chest location
-
- Sentinel Command Station chest
Sentinel Command Station ruby
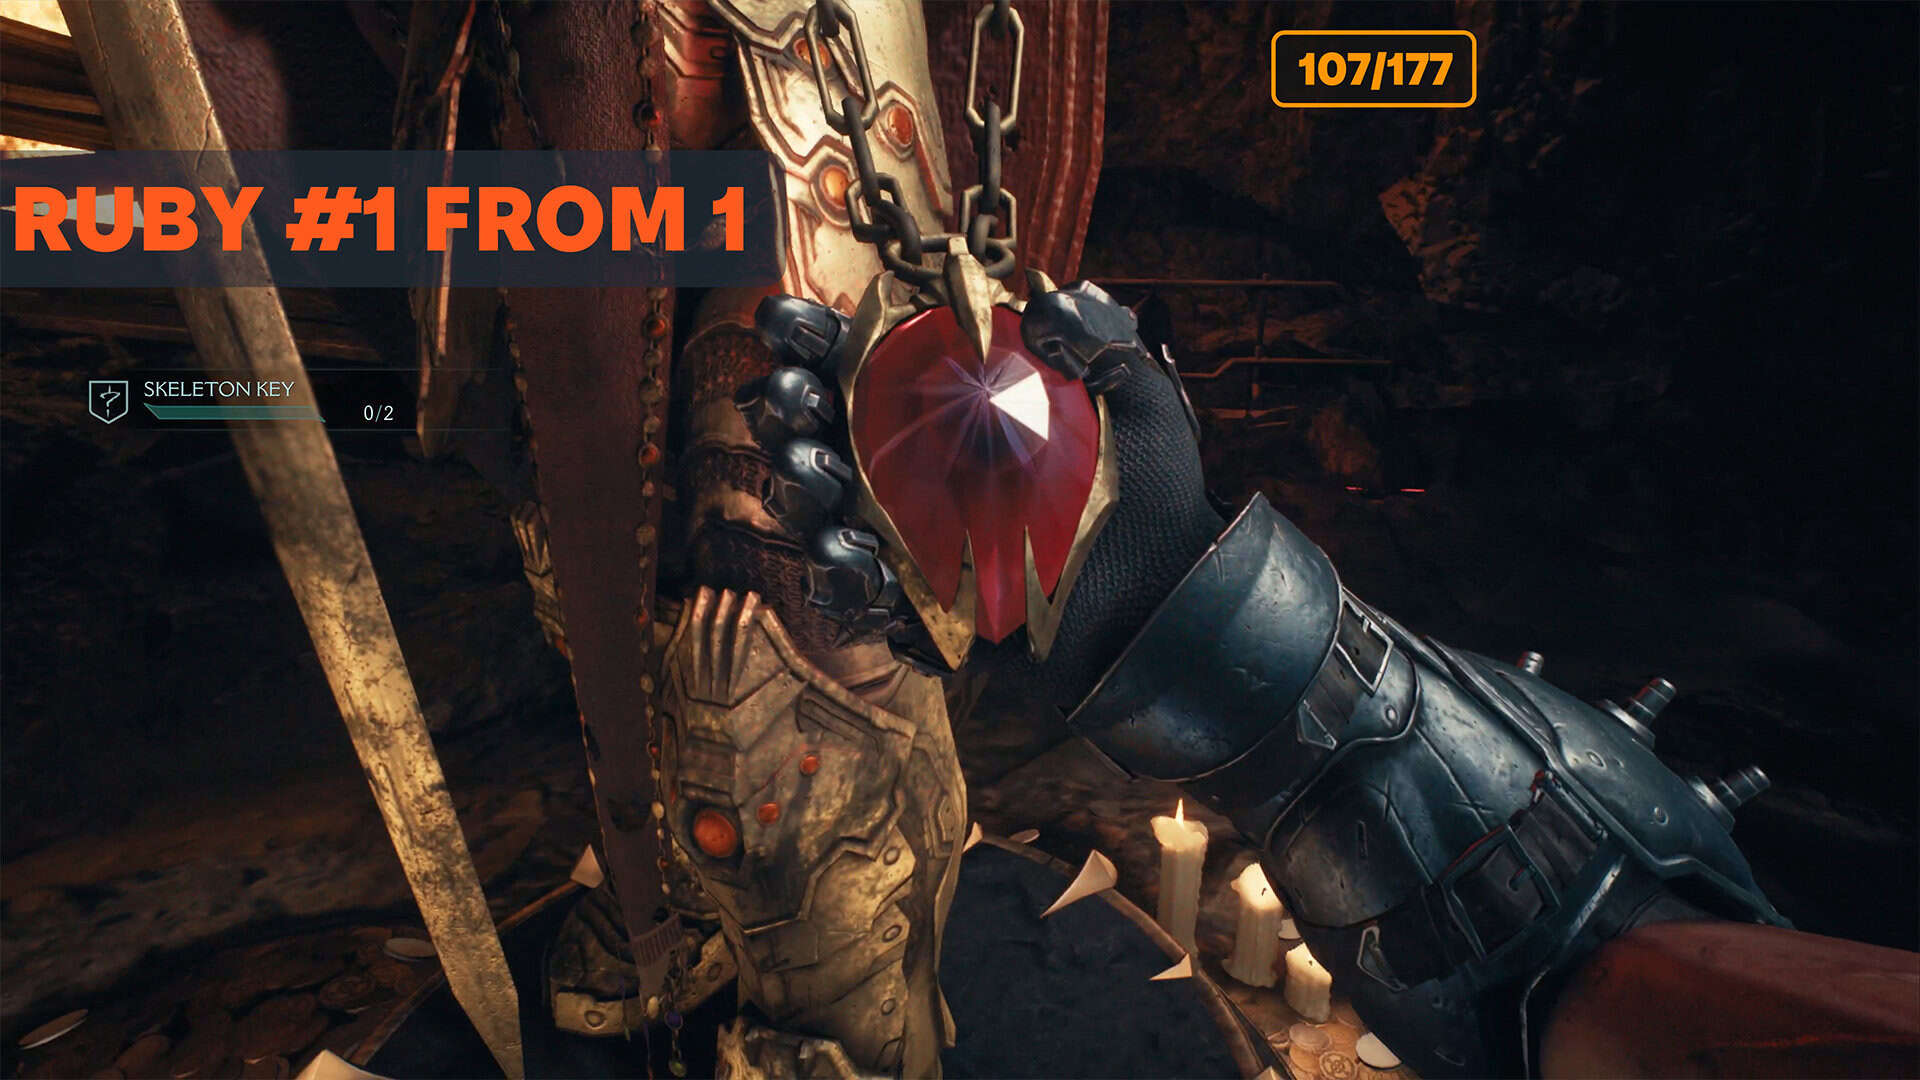
Continue until you have to jump over a large gap with the help of a green statue. Destroy the monster nearby, and at the end of the corridor you will find a hole in the floor. At the bottom, you will receive 8 gold coins. There will also be one monster here that you need to defeat.
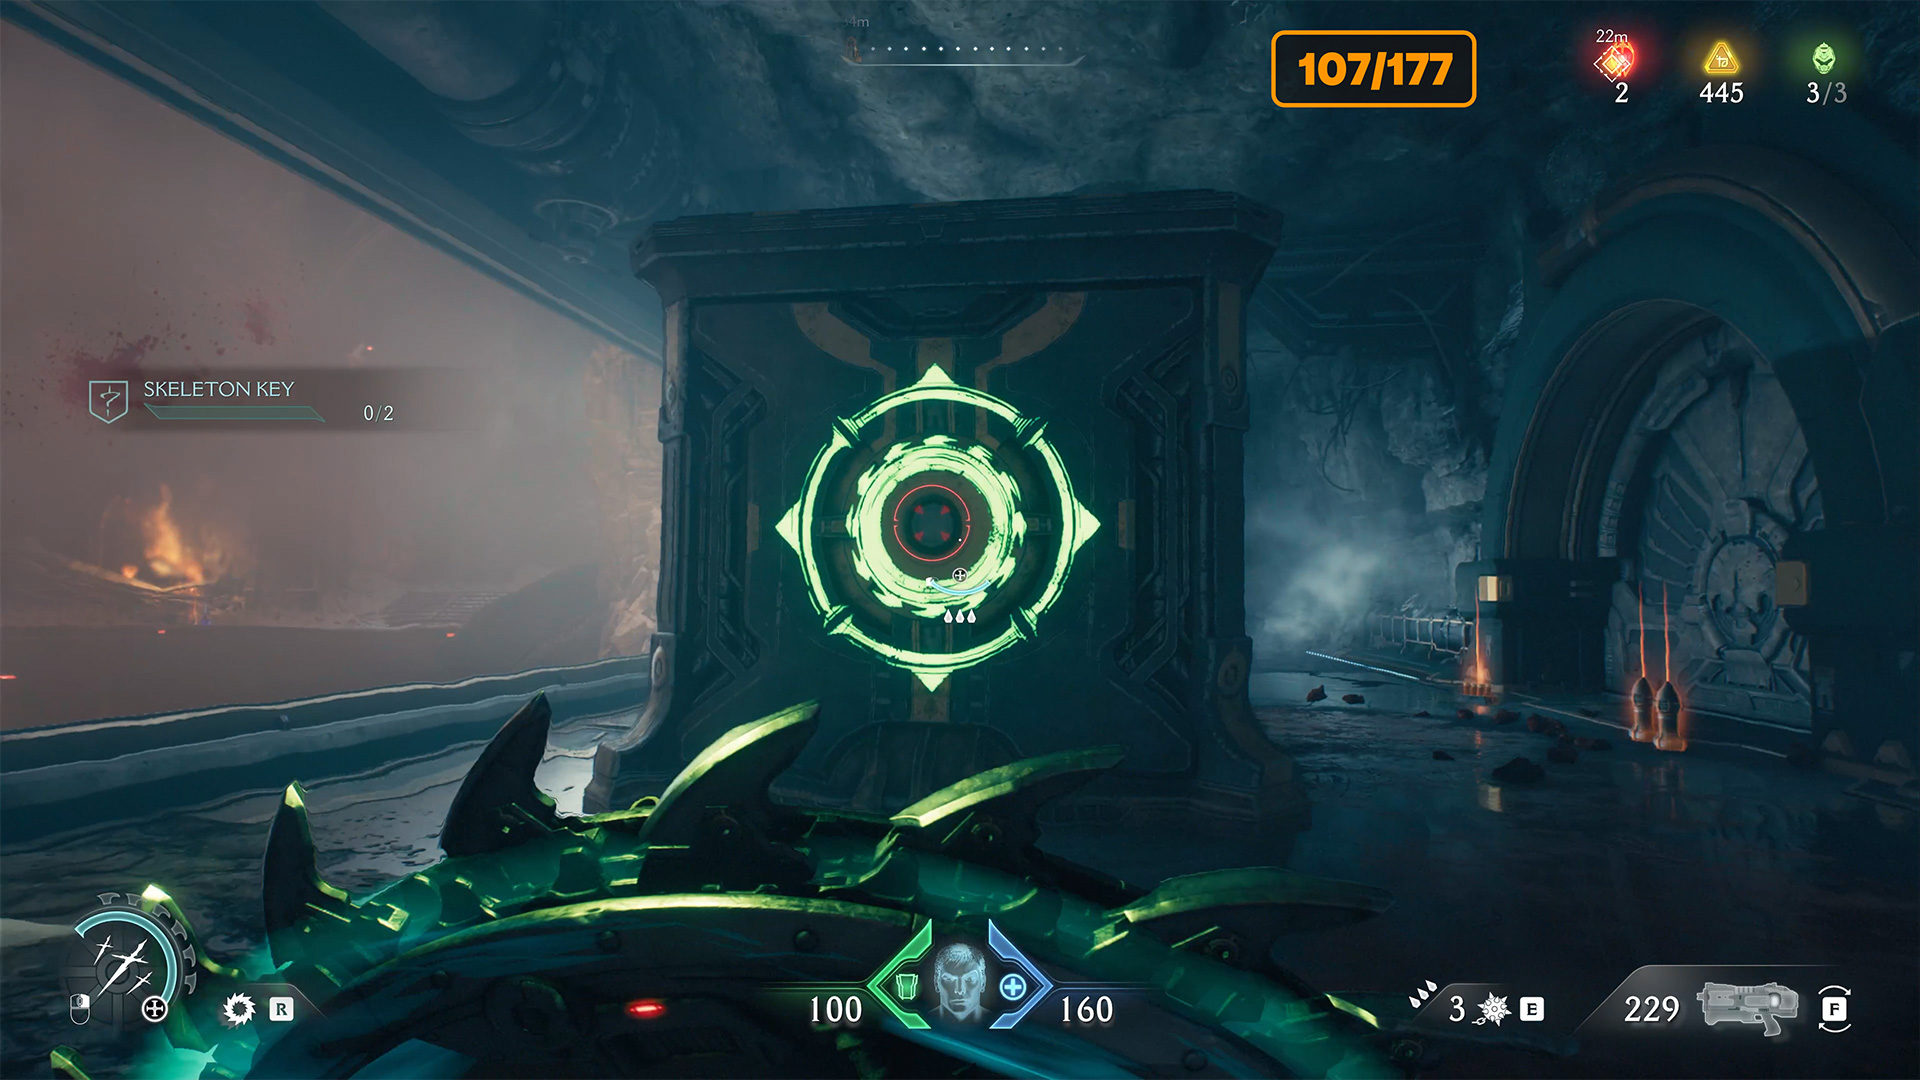
Take the ruby; you can’t miss it, it’s right on your route. To get to the top, you need to push the container and use it to climb the wall out of this secret location.
-
- Sentinel Command Station ruby location

-
- Sentinel Command Station ruby
-
- To climb up, push the container
Sentinel Command Station secret key location
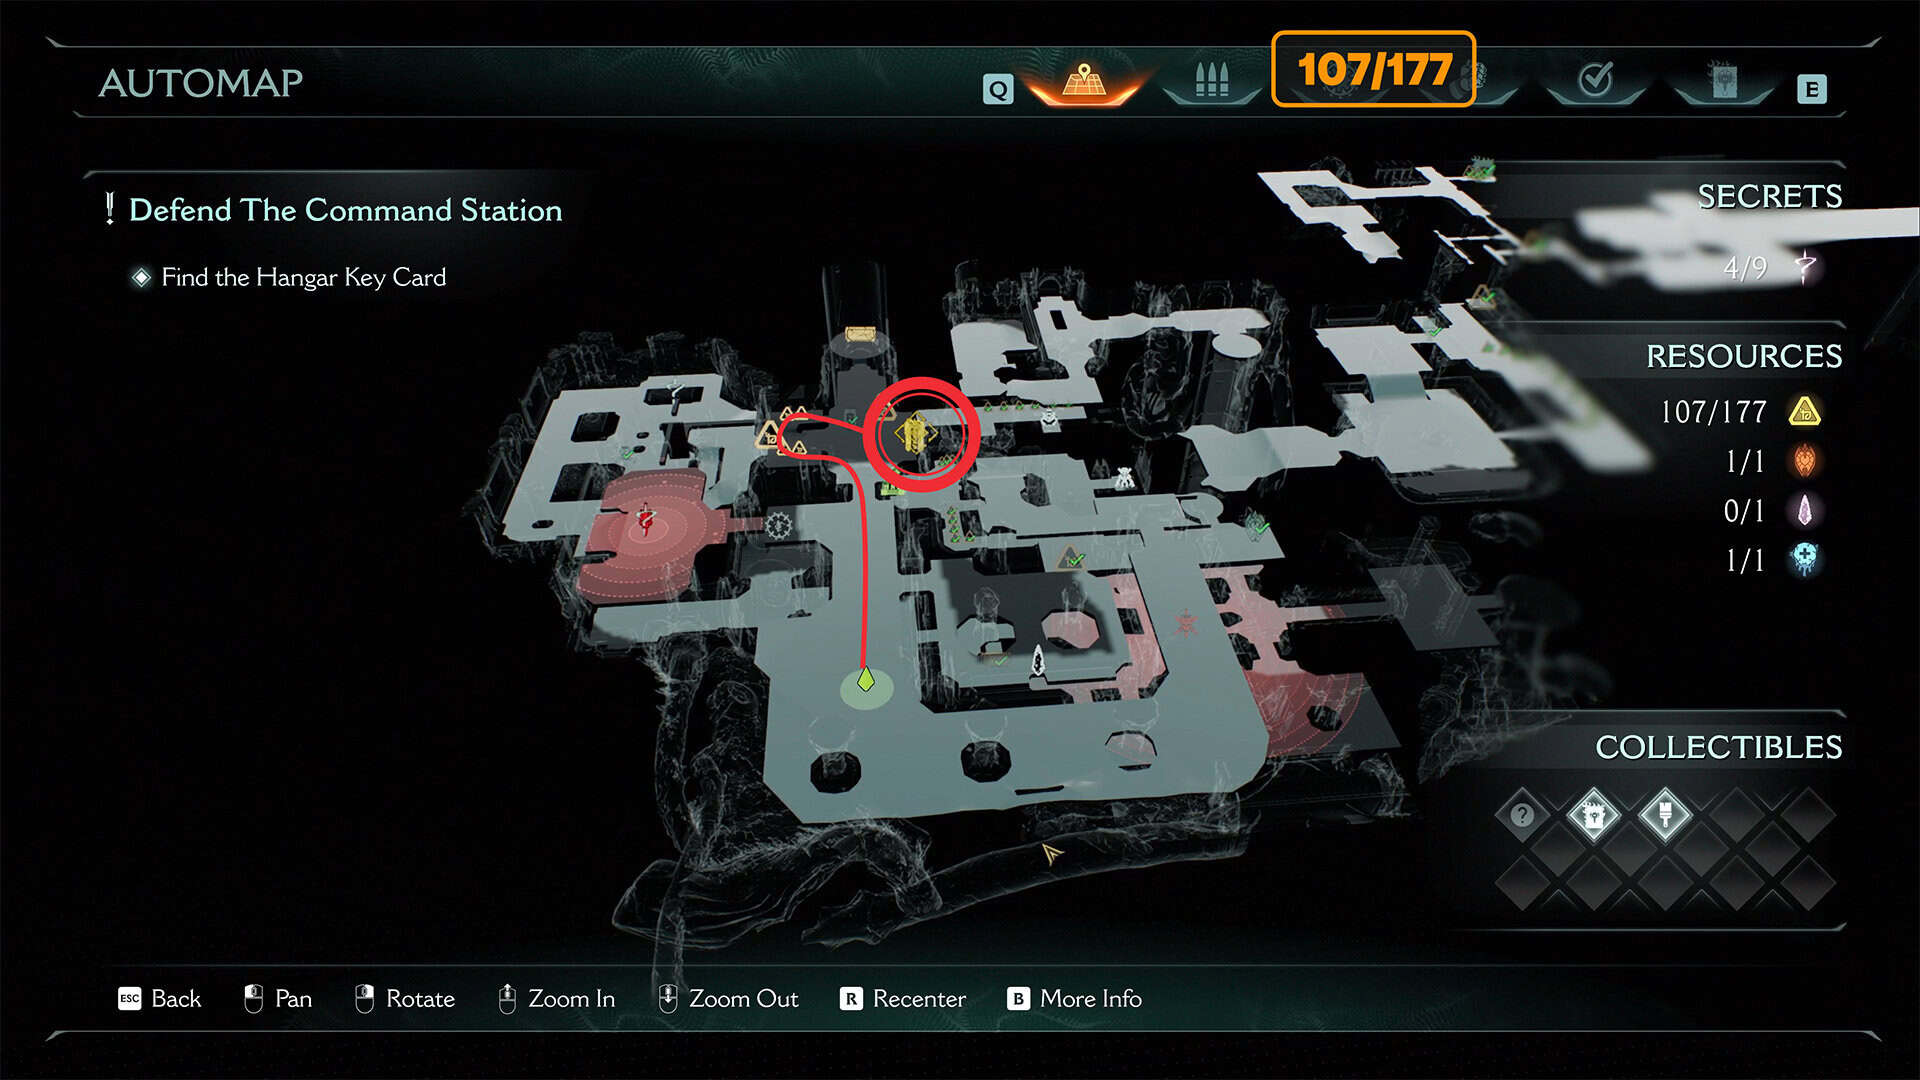
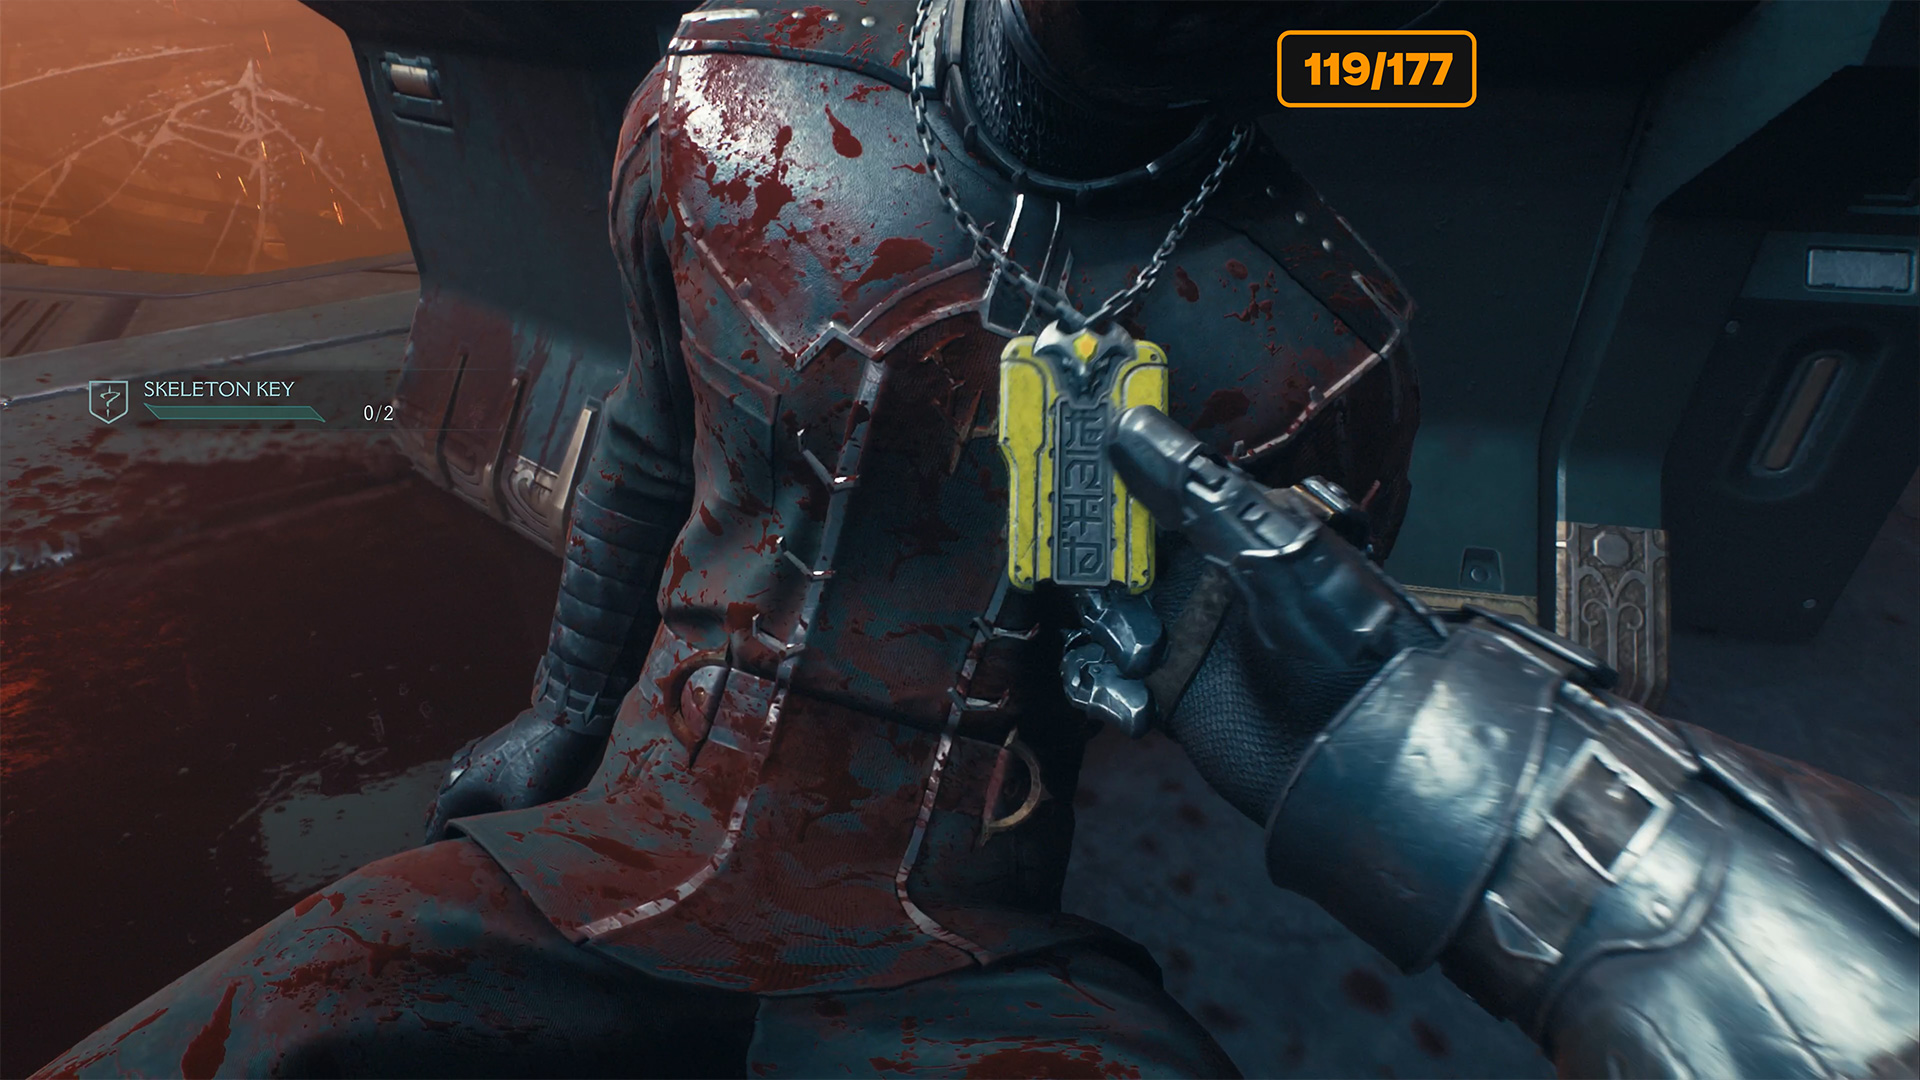
The next gold you find will be easy to get. To reach your main goal, you need to get to the room where the Yellow Keycard is located. Nearby, you will find 12 gold coins. This is not the key you need to complete the challenge. We will get it a little later.
-
- Sentinel Command Station secret key location
-
- Sentinel Command Station yellow secret key
Sentinel Command Station golden chest
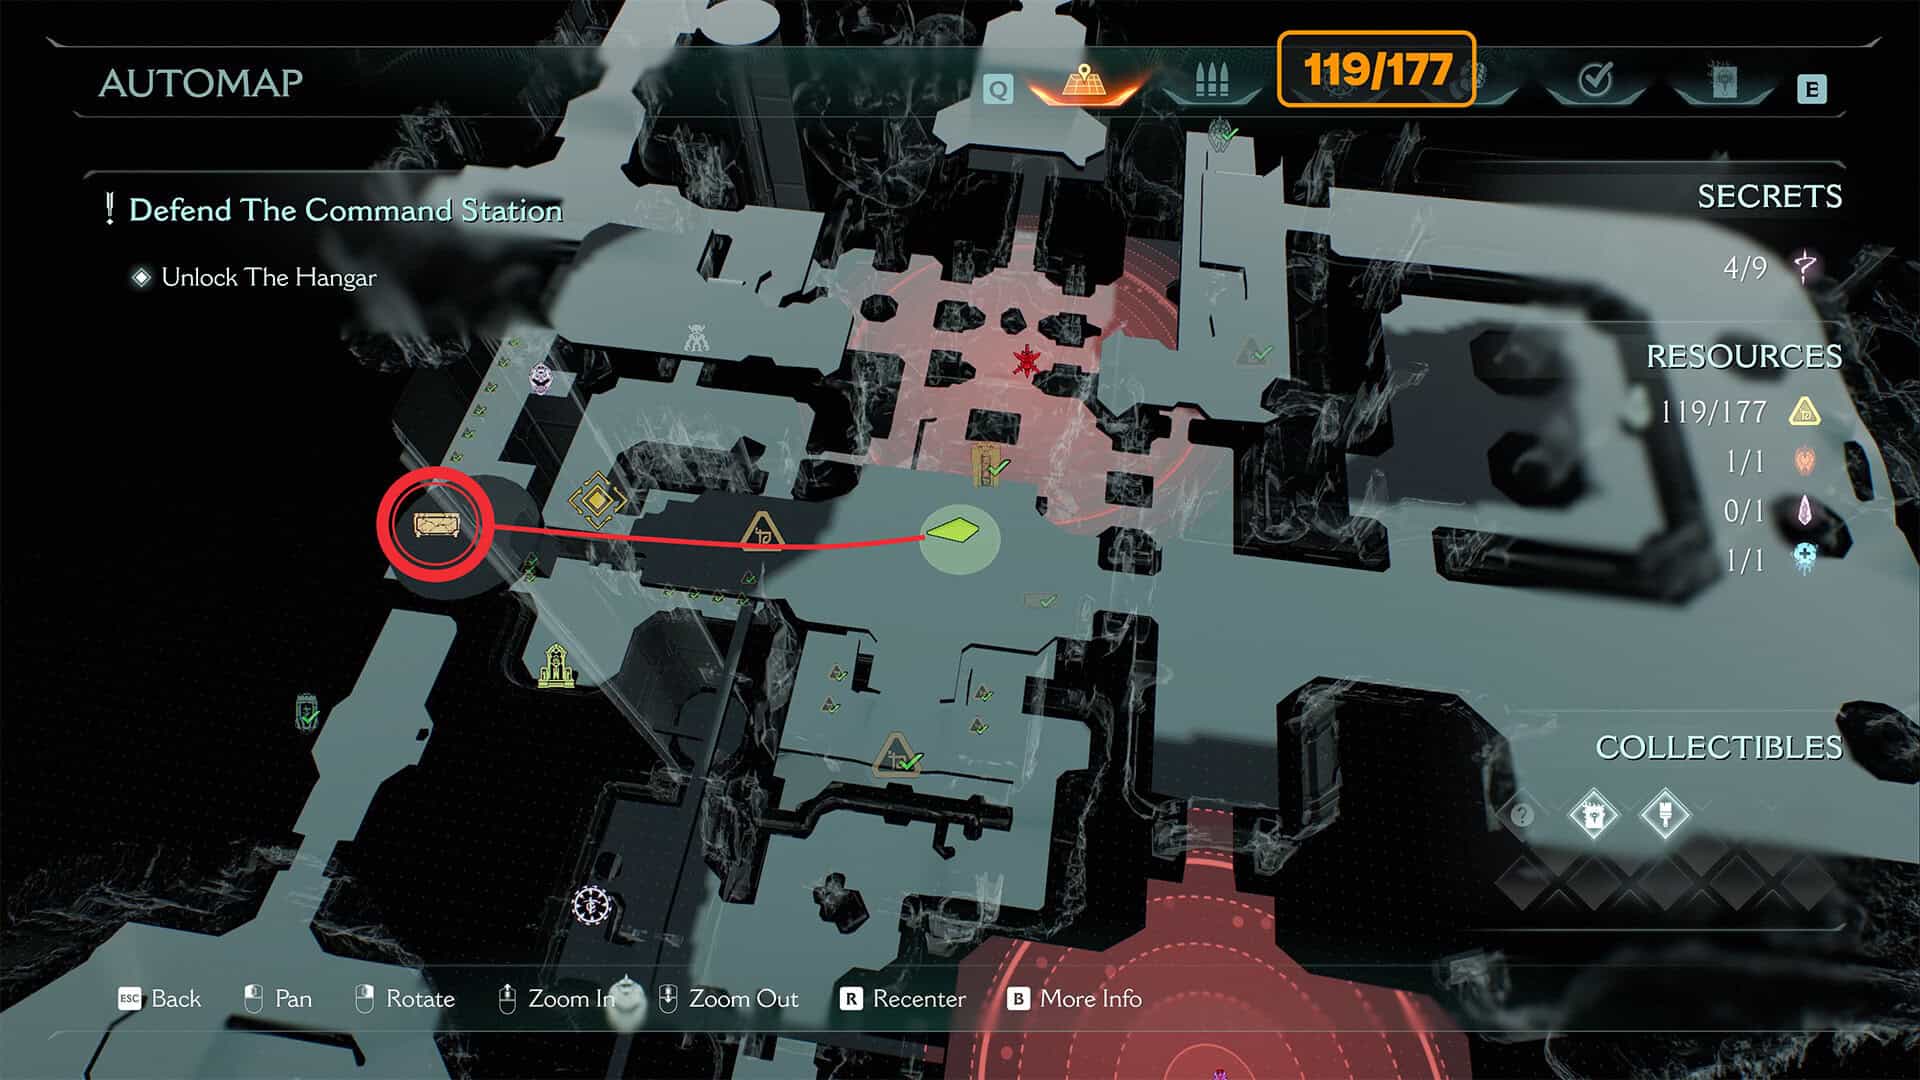
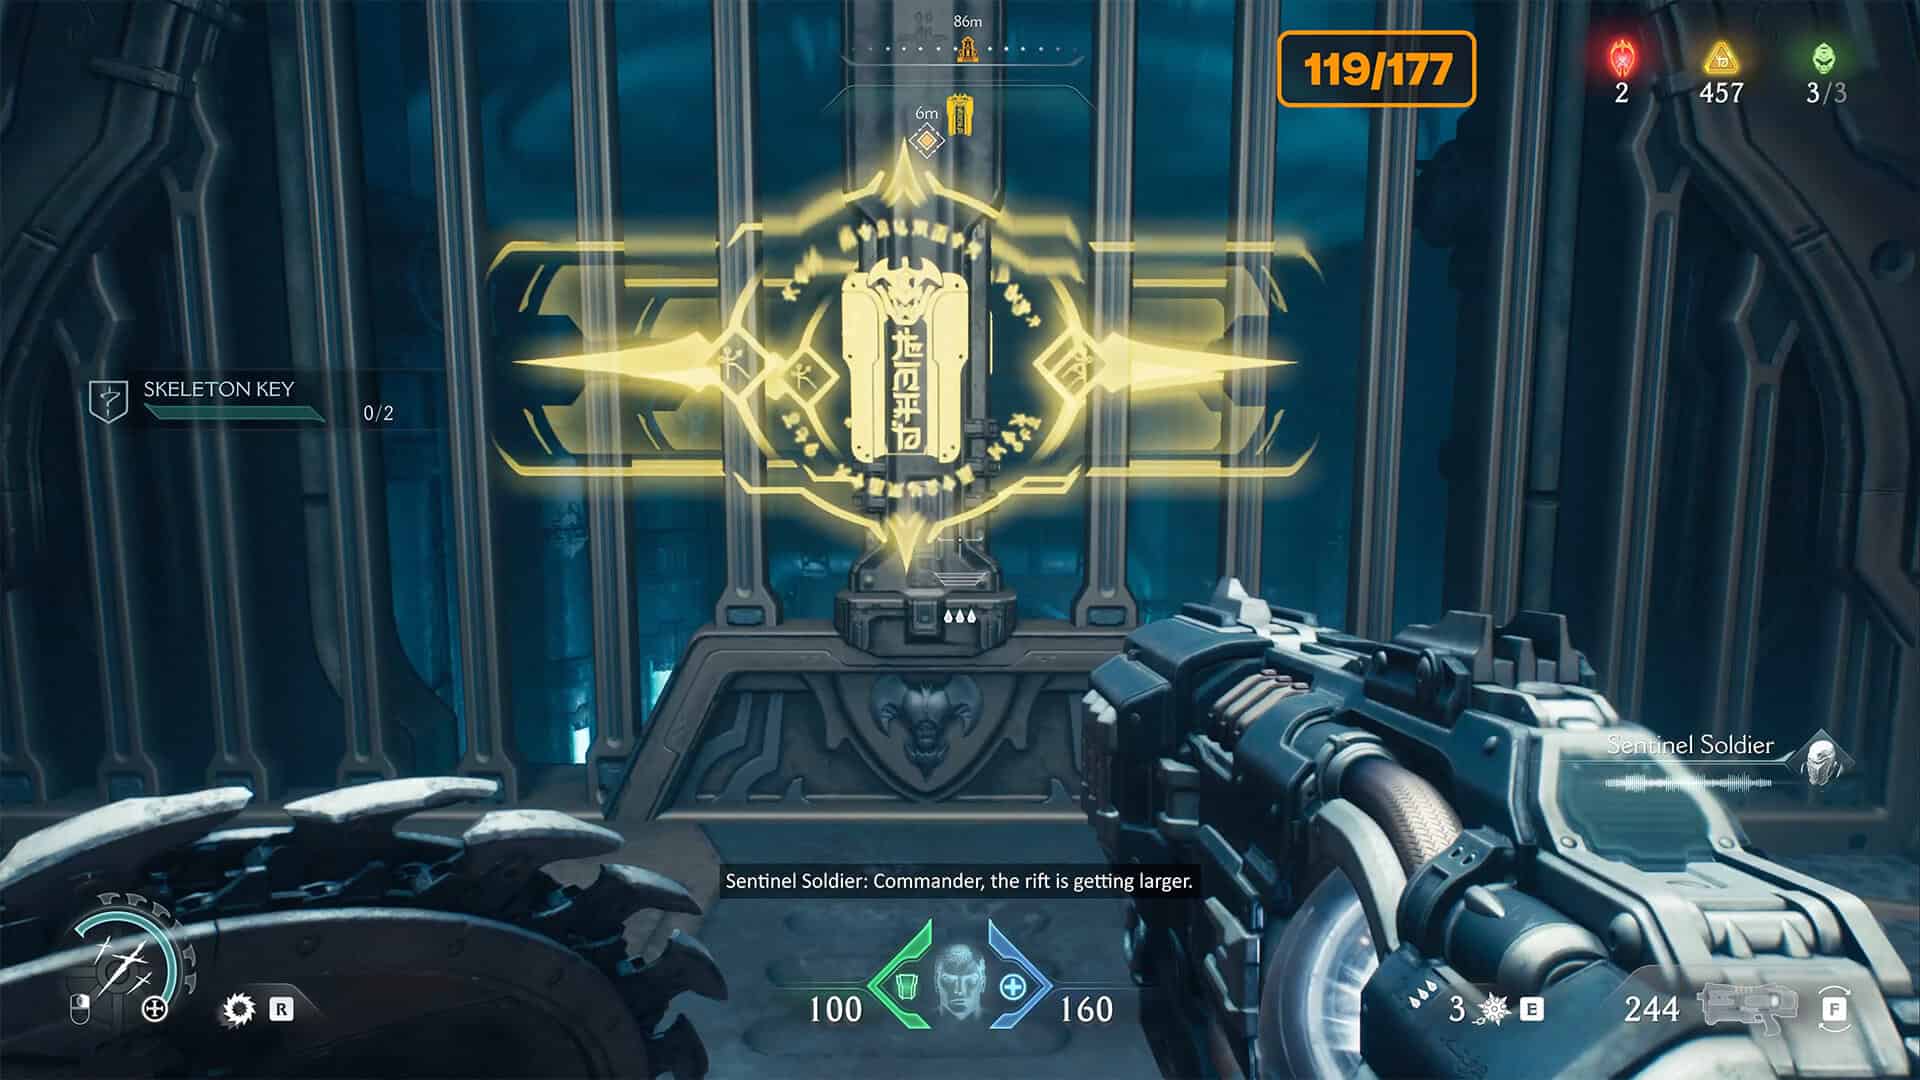
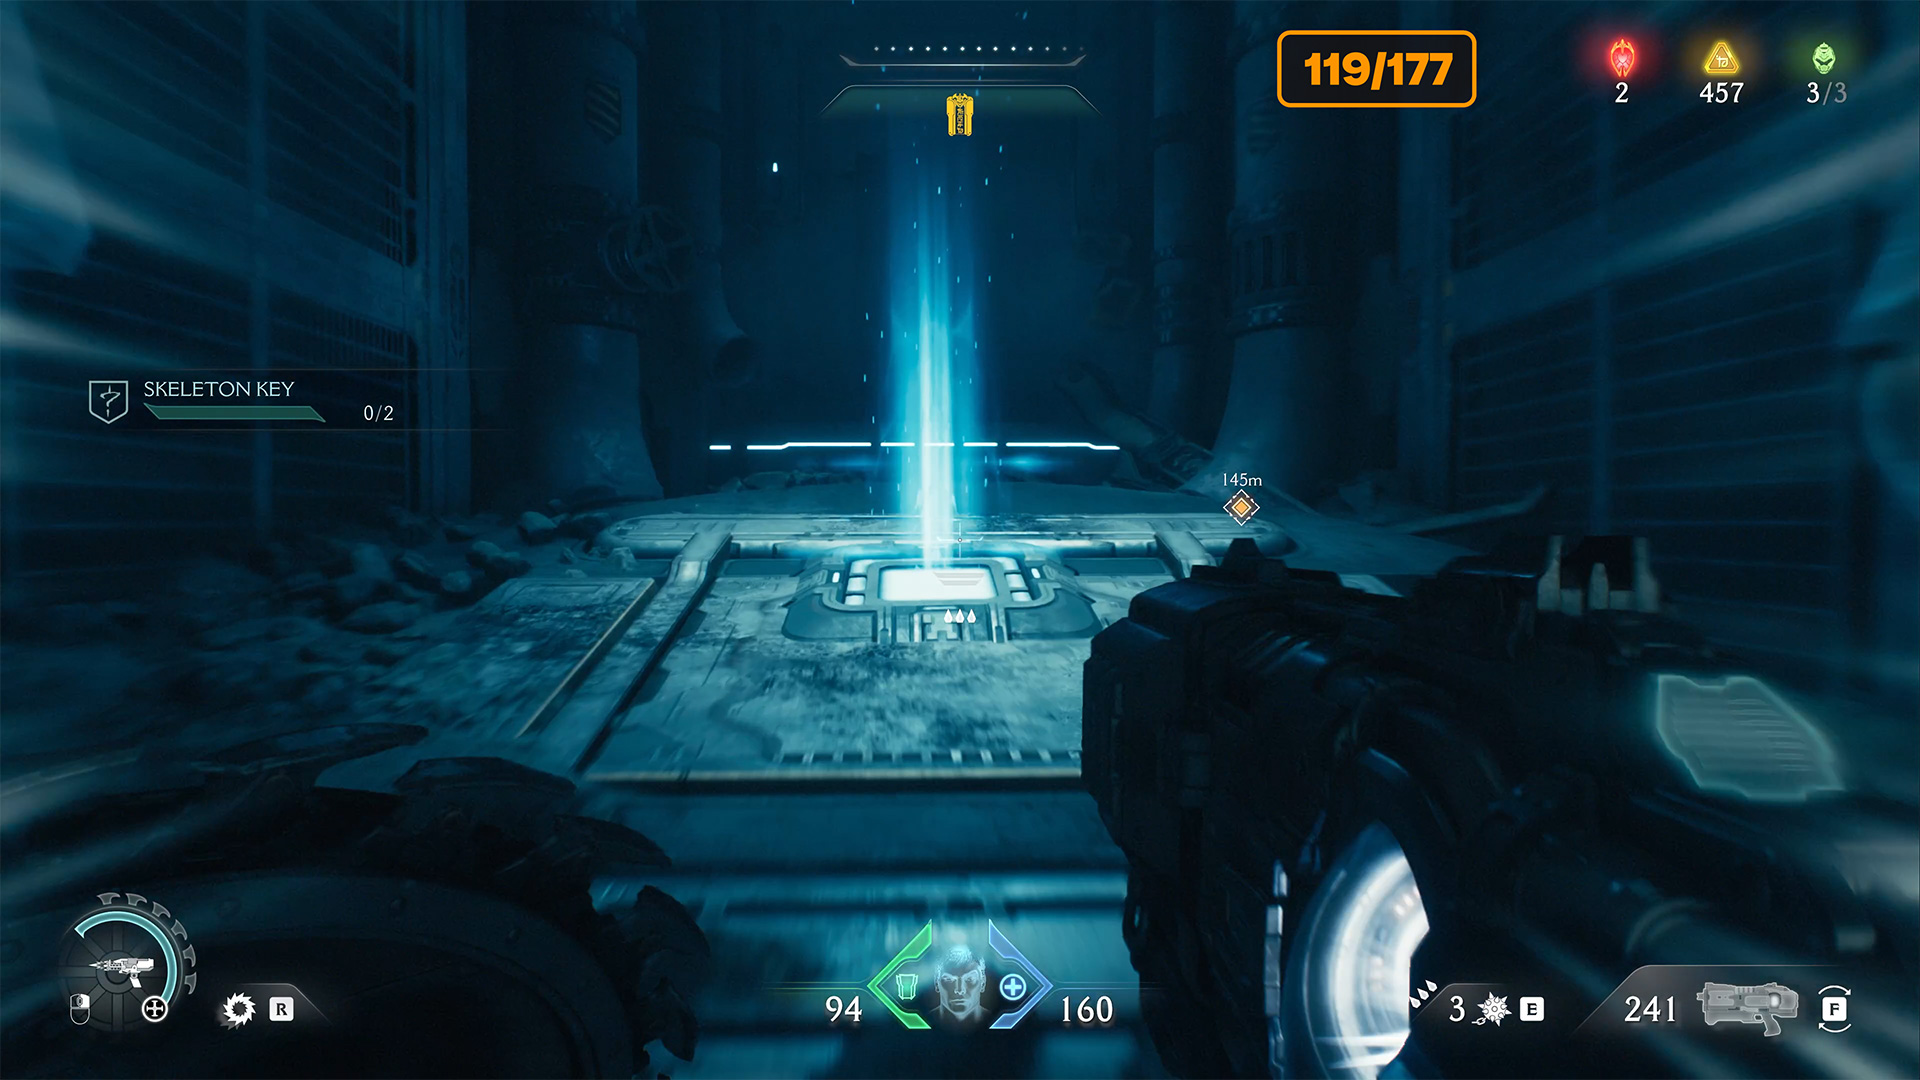
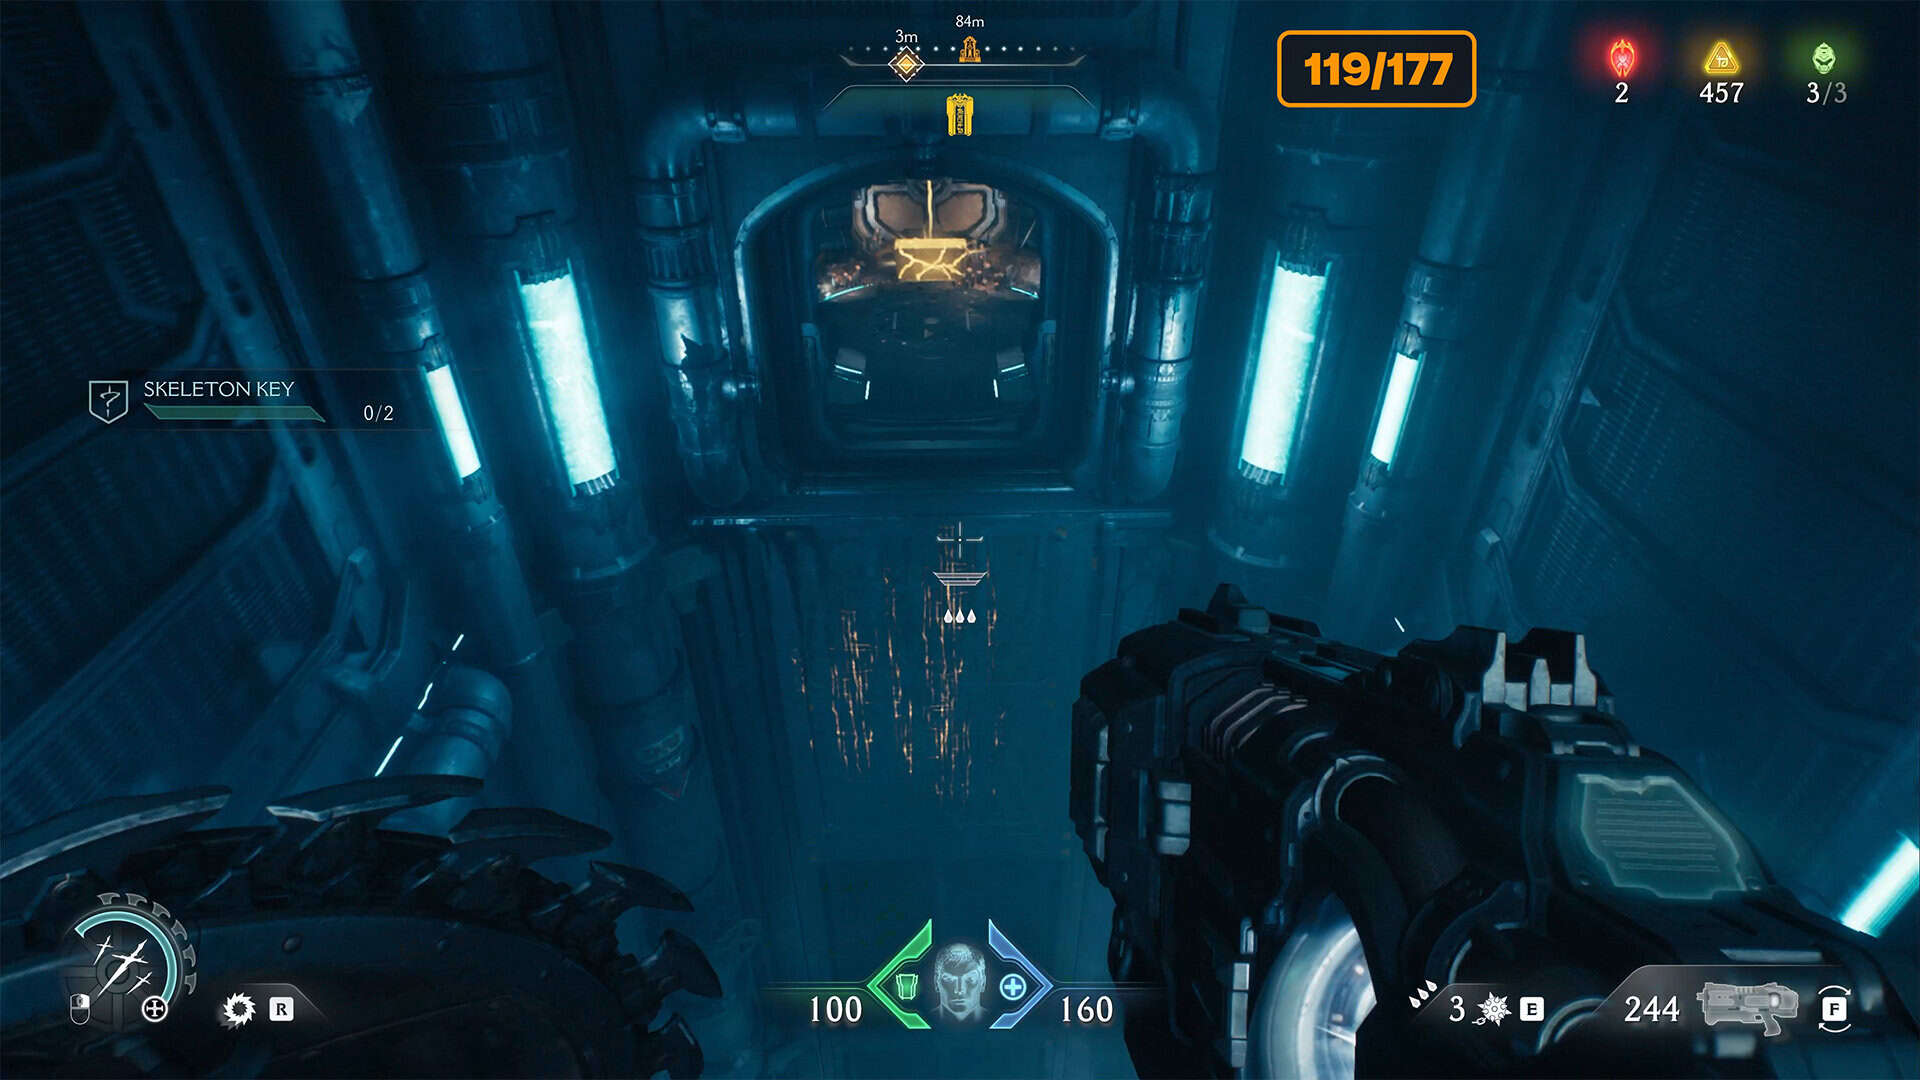
Ahead, use the yellow key to open the door. Here you will find a staircase leading to the lower level. Don’t rush to jump down yet. Opposite you will see a room with a golden chest. Don’t worry if you jump over and fall to the first floor.
After you take another rune for your shield, an accelerator will activate at the place where you fell, which you can use to jump back to the second floor. So you need to go to this secret room to break the chest.
-
- Sentinel Command Station golden chest location
-
- A gate that can only be opened with a secret key
-
- Accelerator, if you fell to the first floor
-
- Sentinel Command Station golden chest
Sentinel Command Station Life Sigil
Turn around and you will see a ventilation grate that you can break and jump into another ventilation shaft. After moving forward a little, you will be able to pick up 8 gold coins on the left. Then move to the exit of this ventilation shaft. At the end, there will be a wall.
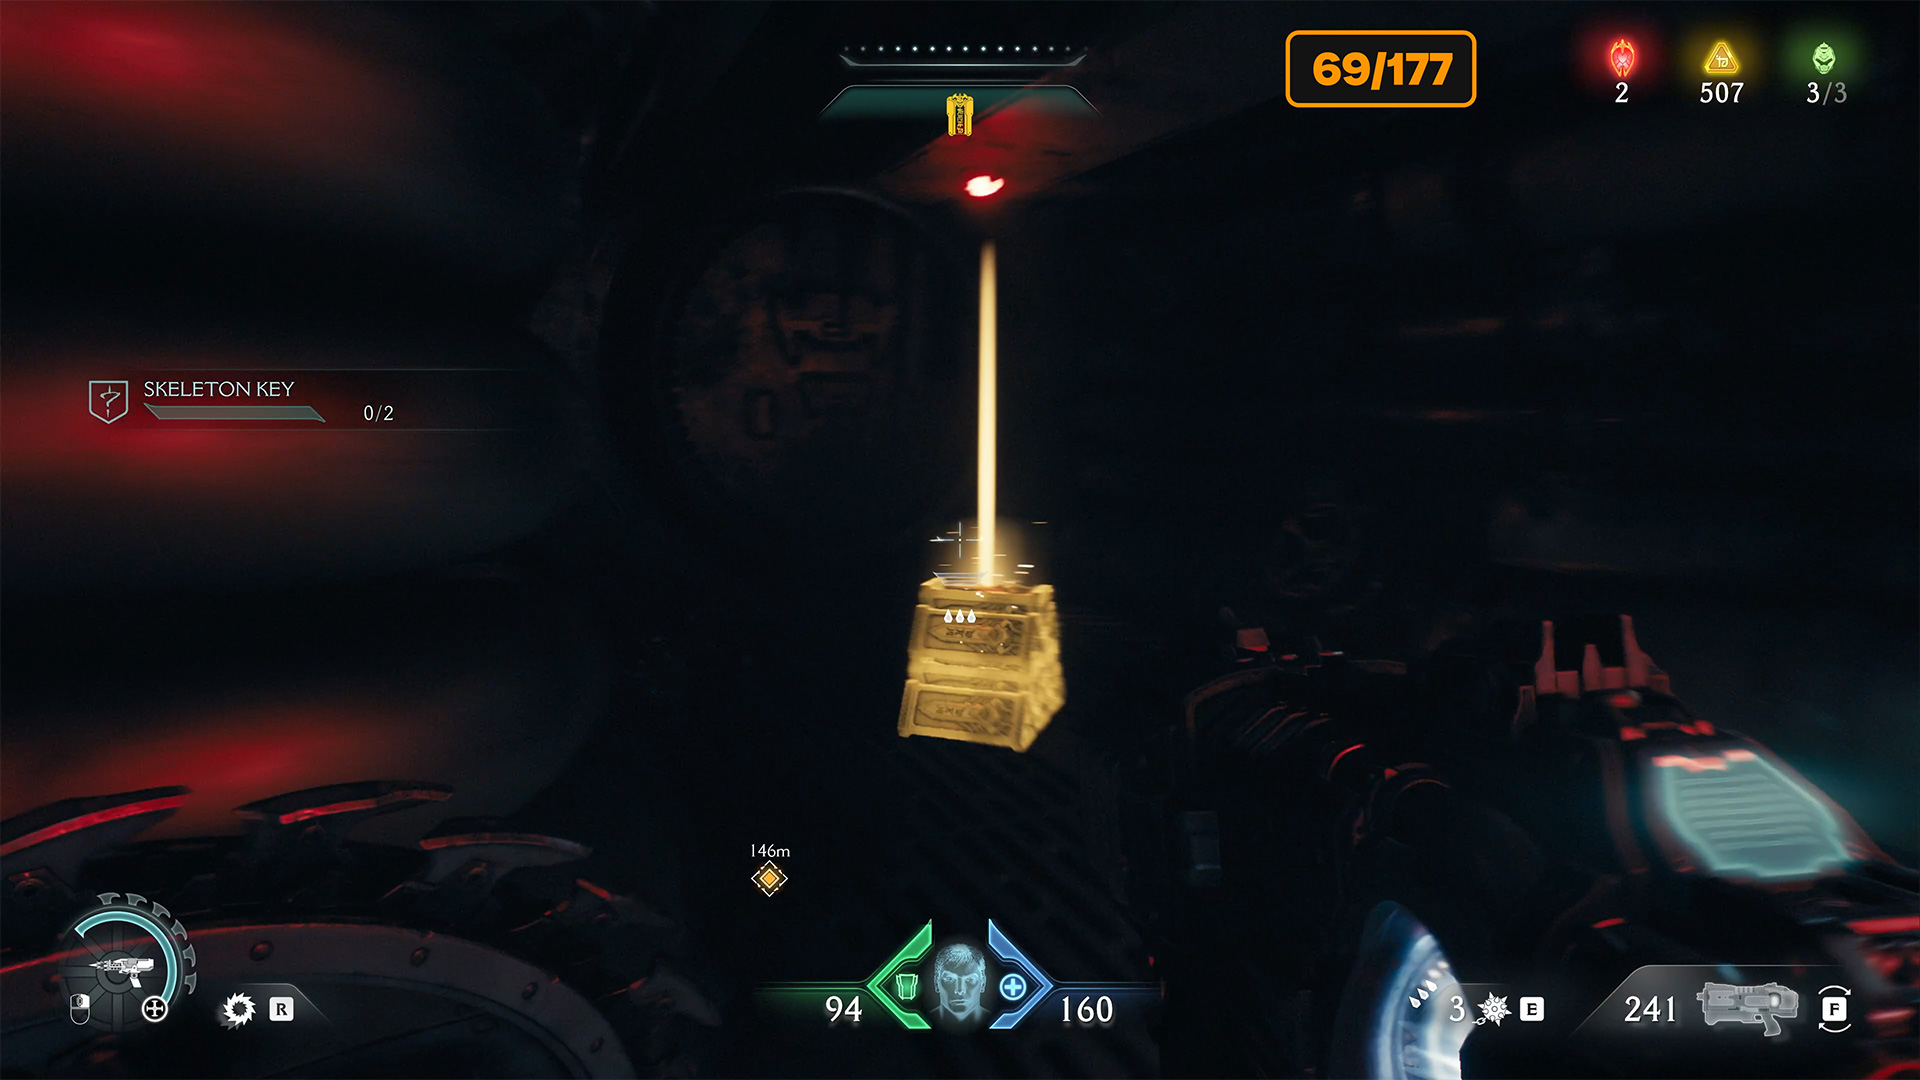
Climb up this wall, turn around, and jump into a small room where the Life Sigil is located. You will unlock another secret here.
-
- Sentinel Command Station Life Sigil location

-
- The last gold in Sentinel Command Station
-
- Sentinel Command Station Life Sigil

Sentinel Command Station purple key
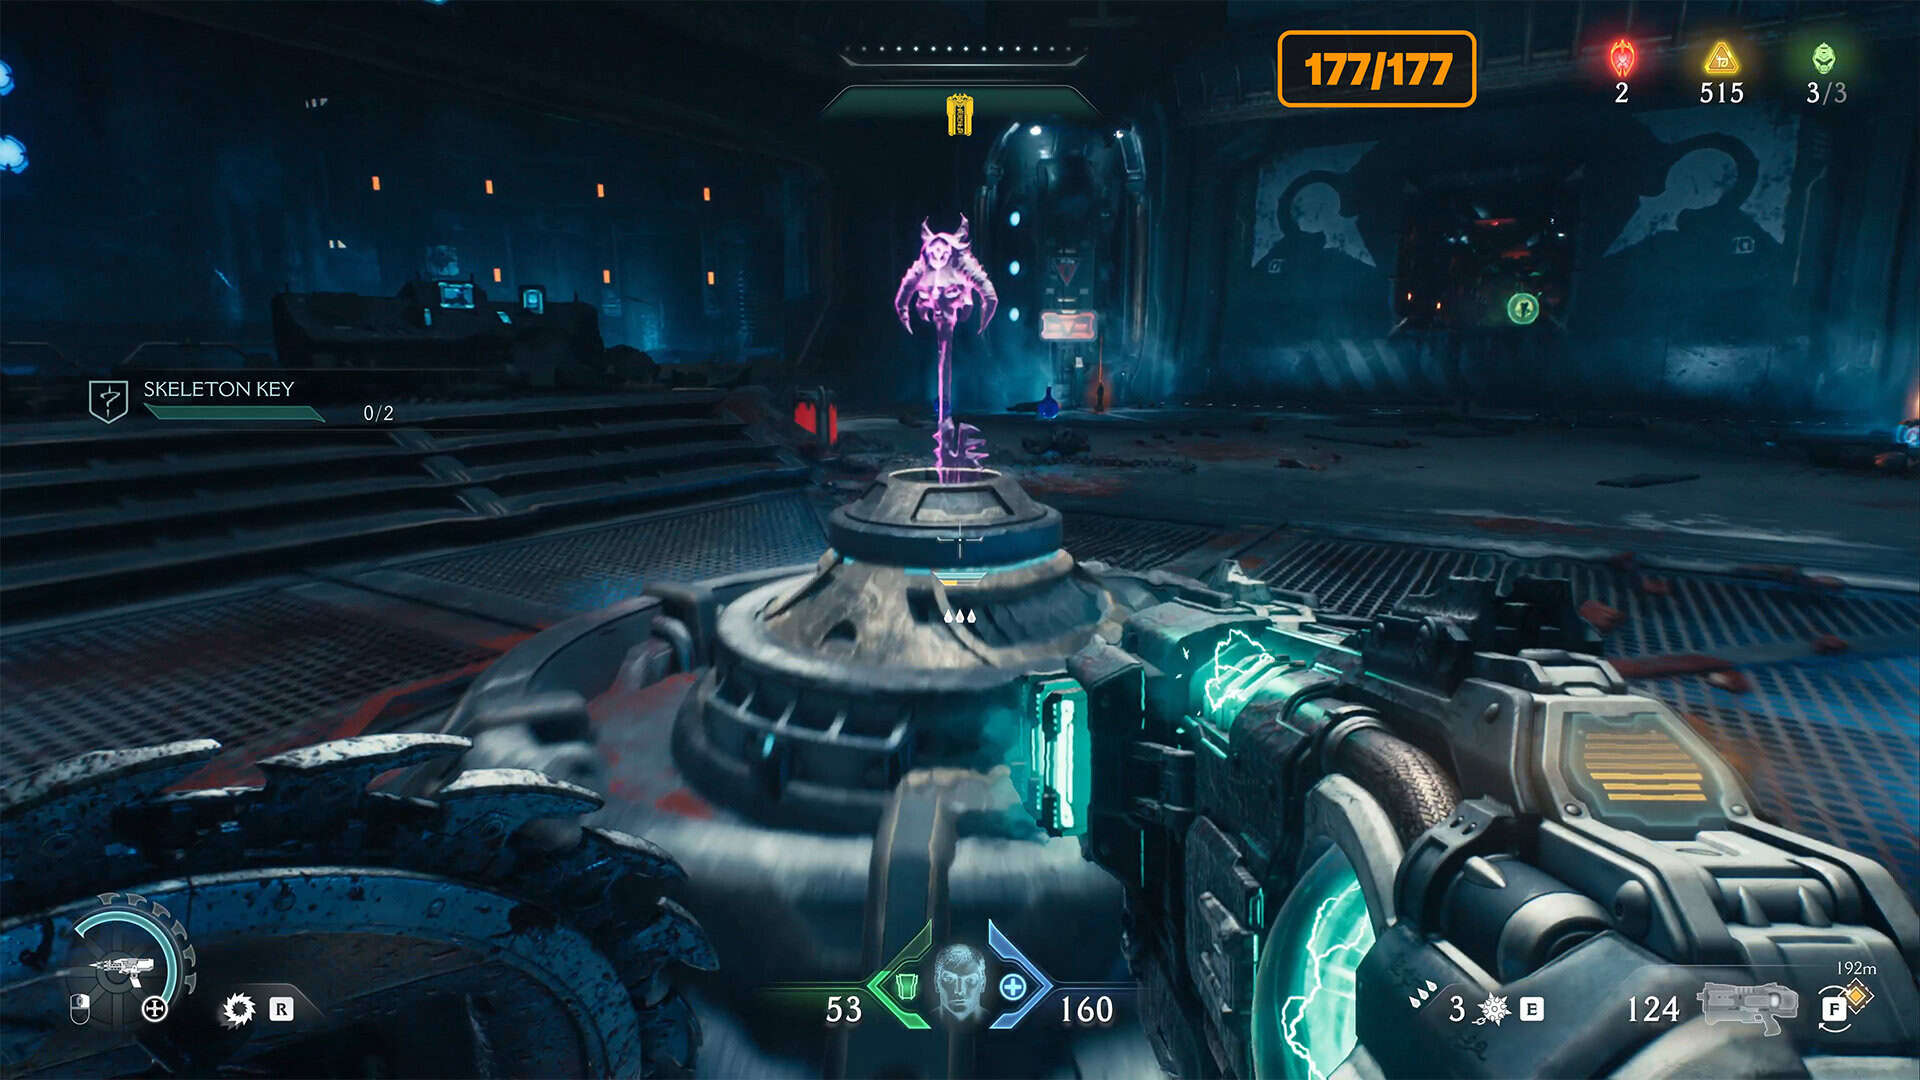
Now proceed to the red zone with the battle. There will be a purple secret key in the center of the room. You will need it to complete the final challenge in this chapter. The key is protected by a transparent barrier. Once you defeat all enemies in this location, the barrier will disappear and you will obtain the key.
-
- Sentinel Command Station purple key location

-
- Sentinel Command Station purple key
Sentinel Command Station wraithstone
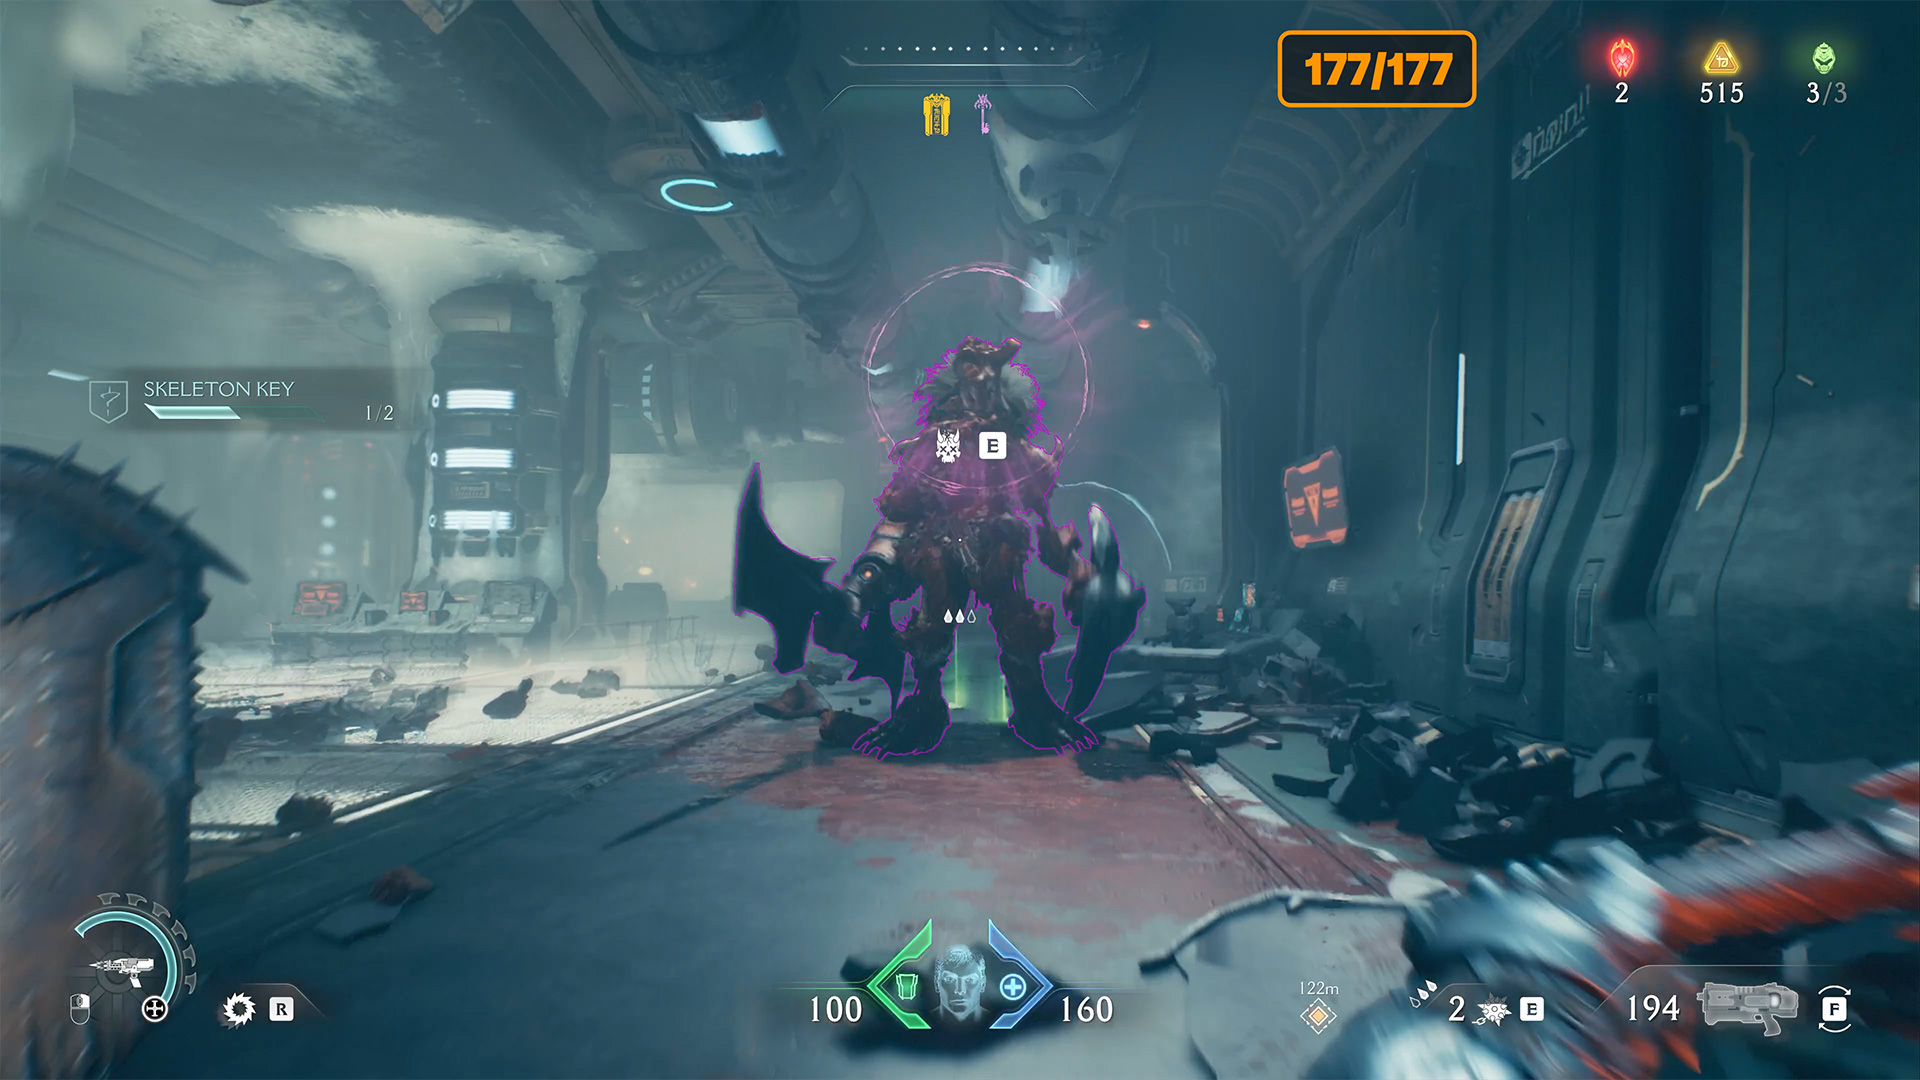
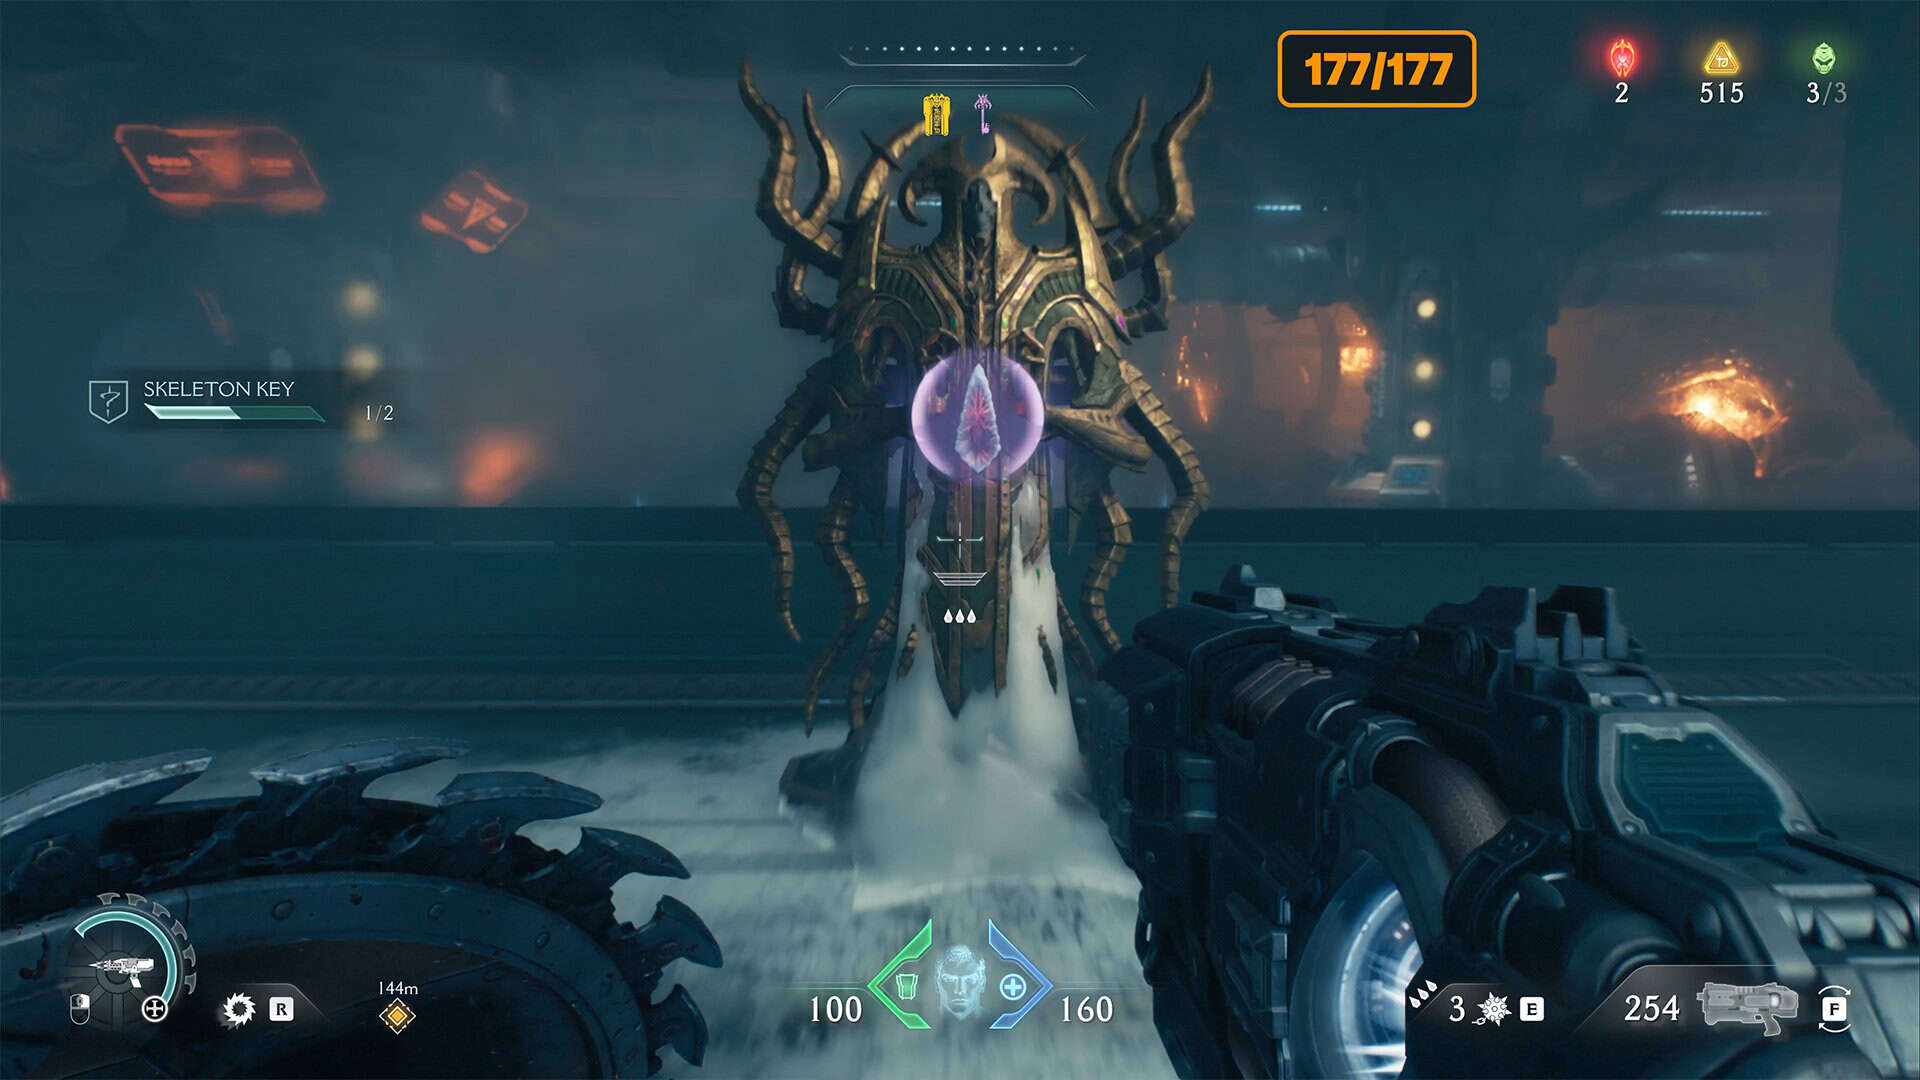
Leave the room with the key and turn right. There is a closed purple door nearby. It will open as soon as you approach it with the key. This is the first door you need to open to complete the challenge. Inside, you will face a boss battle. After you defeat him, the protective barrier will disappear and you will be able to obtain the Wraithstone.
-
- Sentinel Command Station wraithstone location

-
- Defeat the mini boss in this room
-
- Sentinel Command Station wraithstone
Doom Dark Aes Sentinel Command Station shield rune
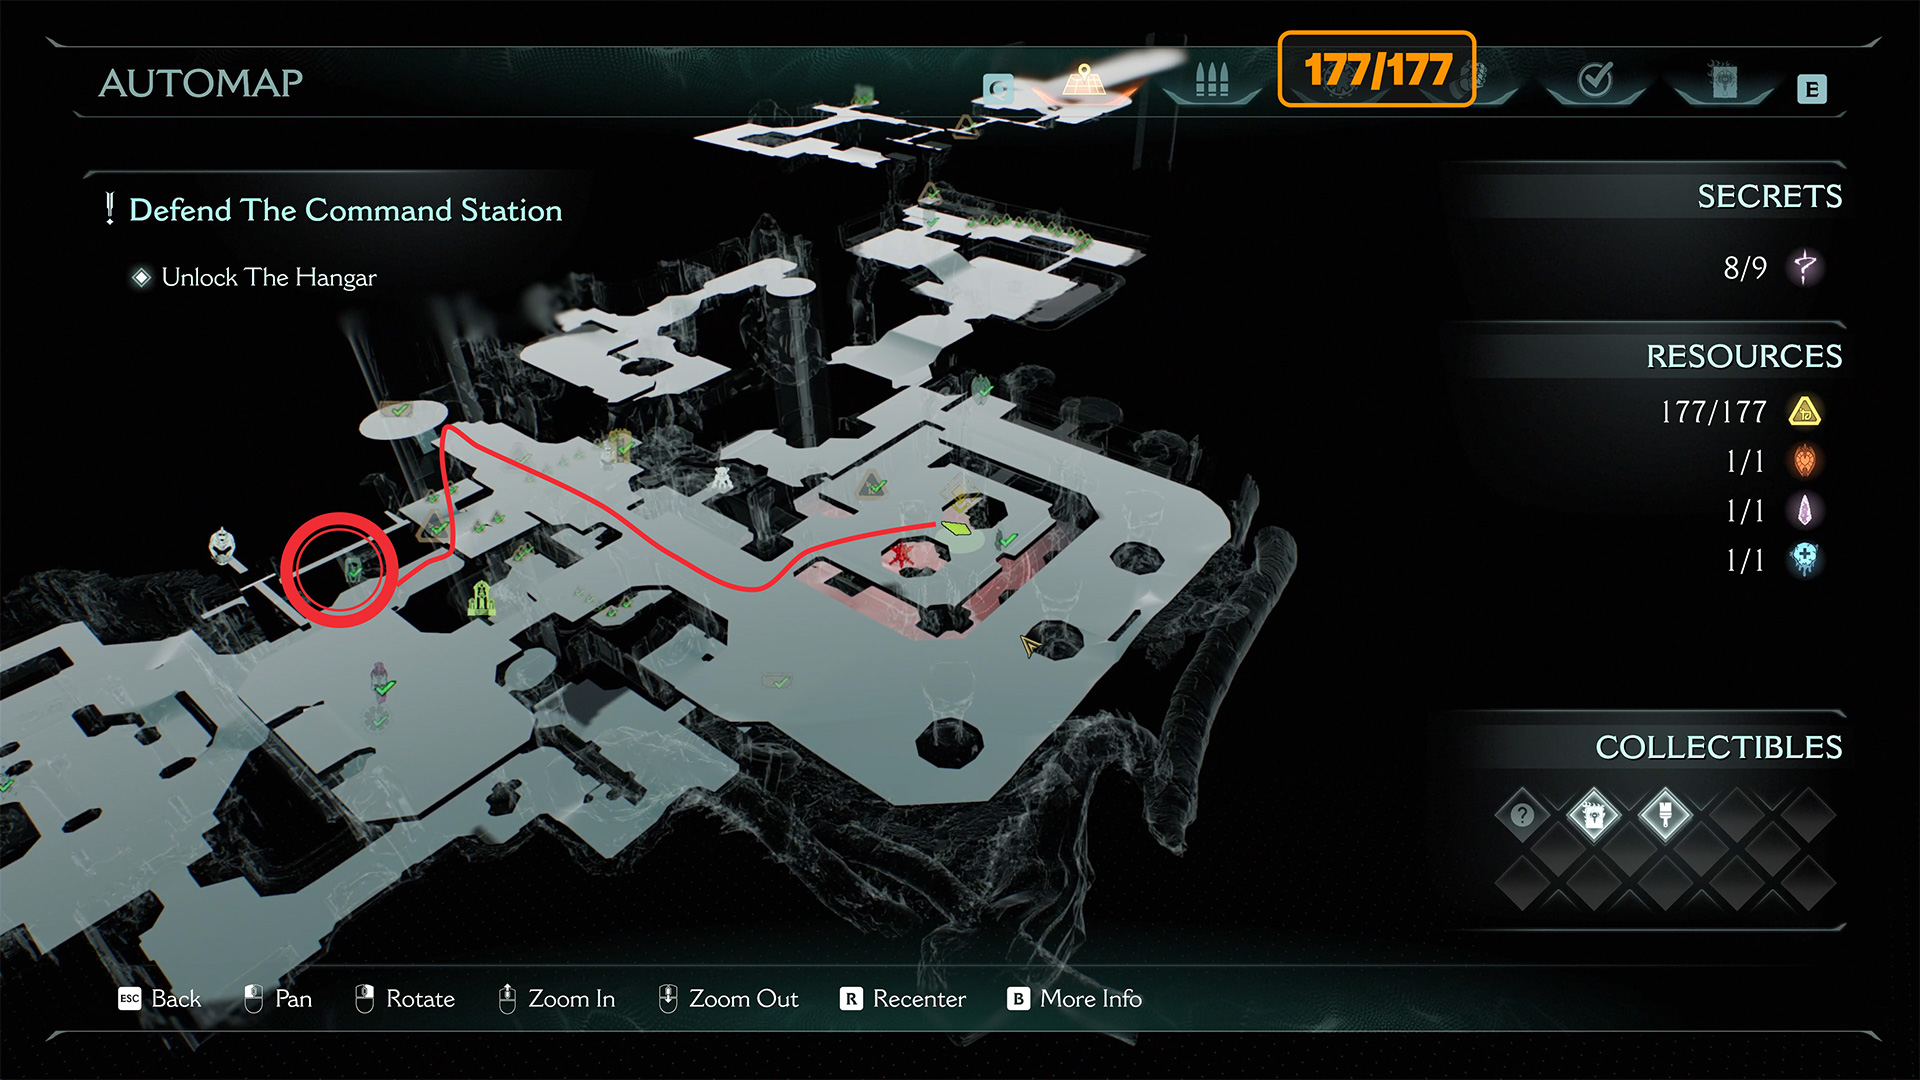
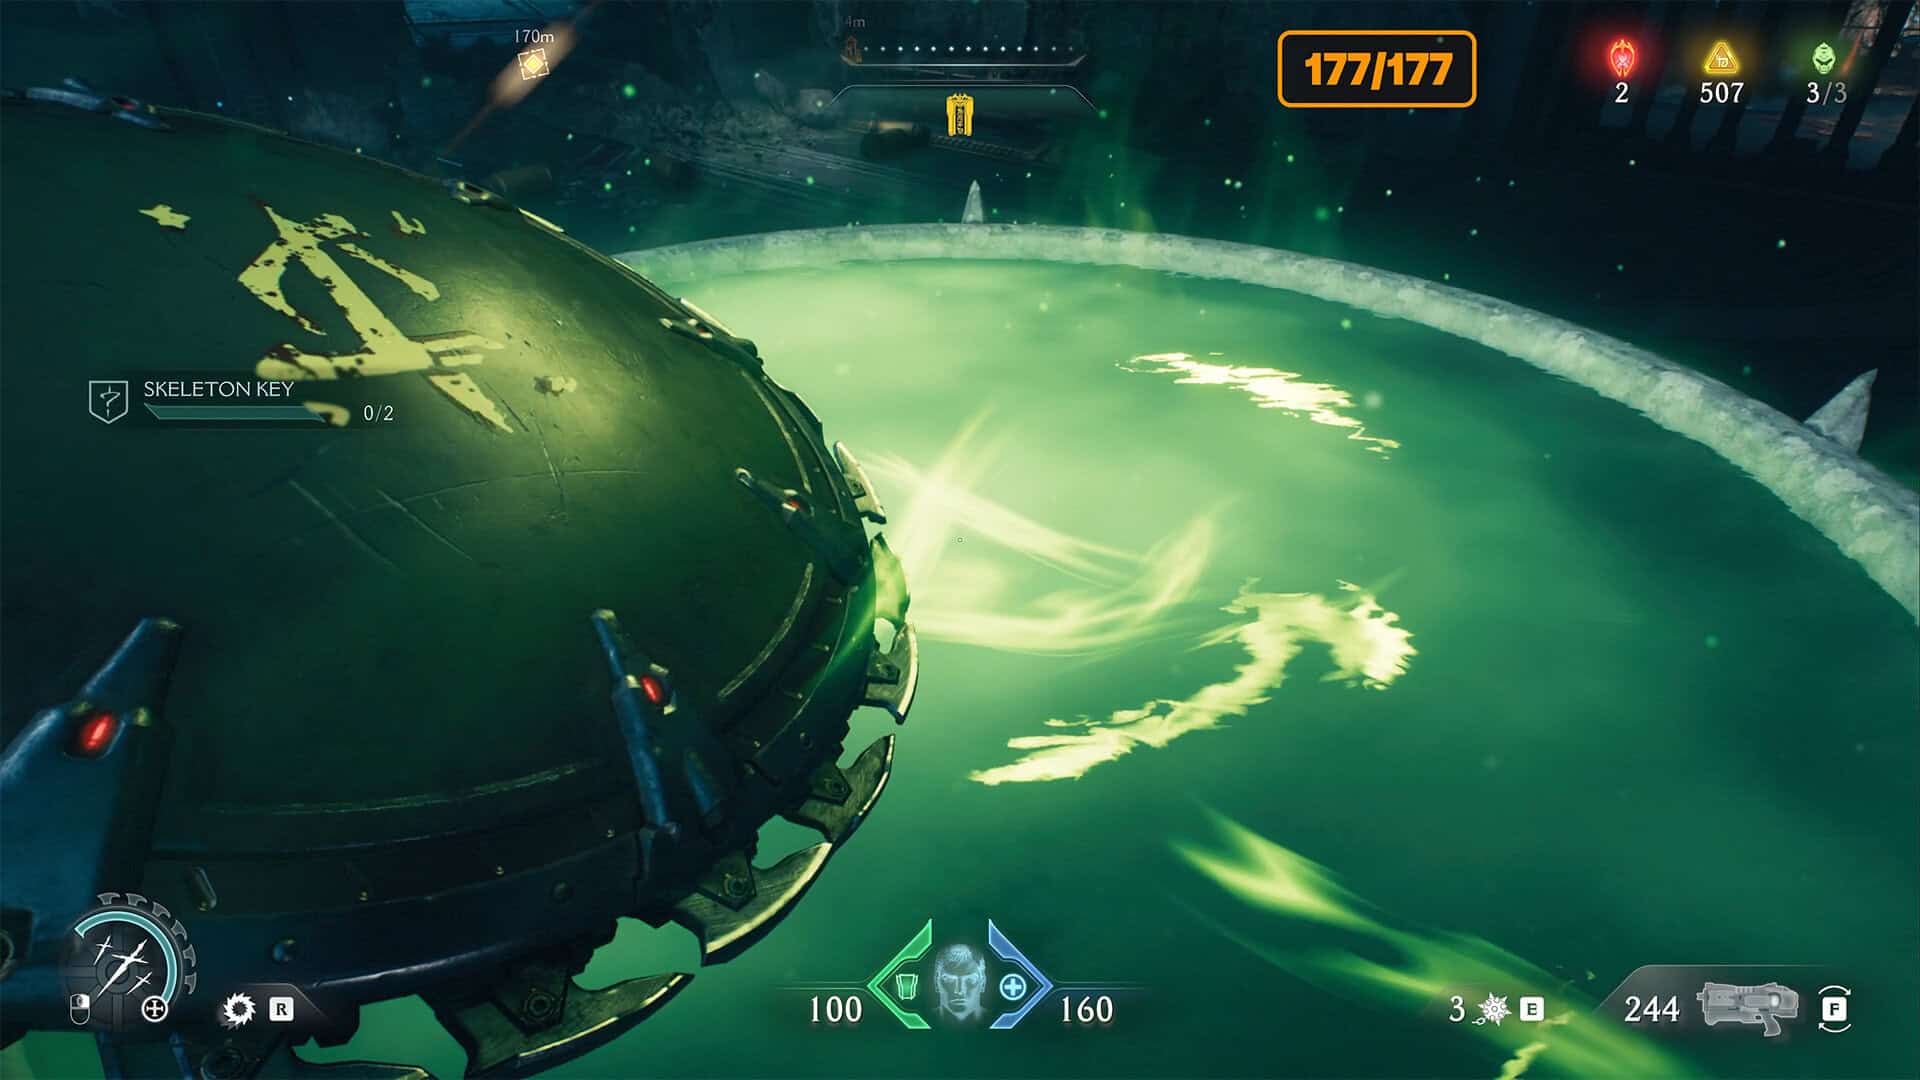
Now, through the mine you already know, you need to go down to the first floor. Here, nearby, is the place where you should get the rune for your shield. If you haven’t done so yet, now is the time to do it.
-
- Sentinel Command Station shield rune location
-
- Doom Dark Aes Sentinel Command Station shield rune
Sentinel Command Station toy
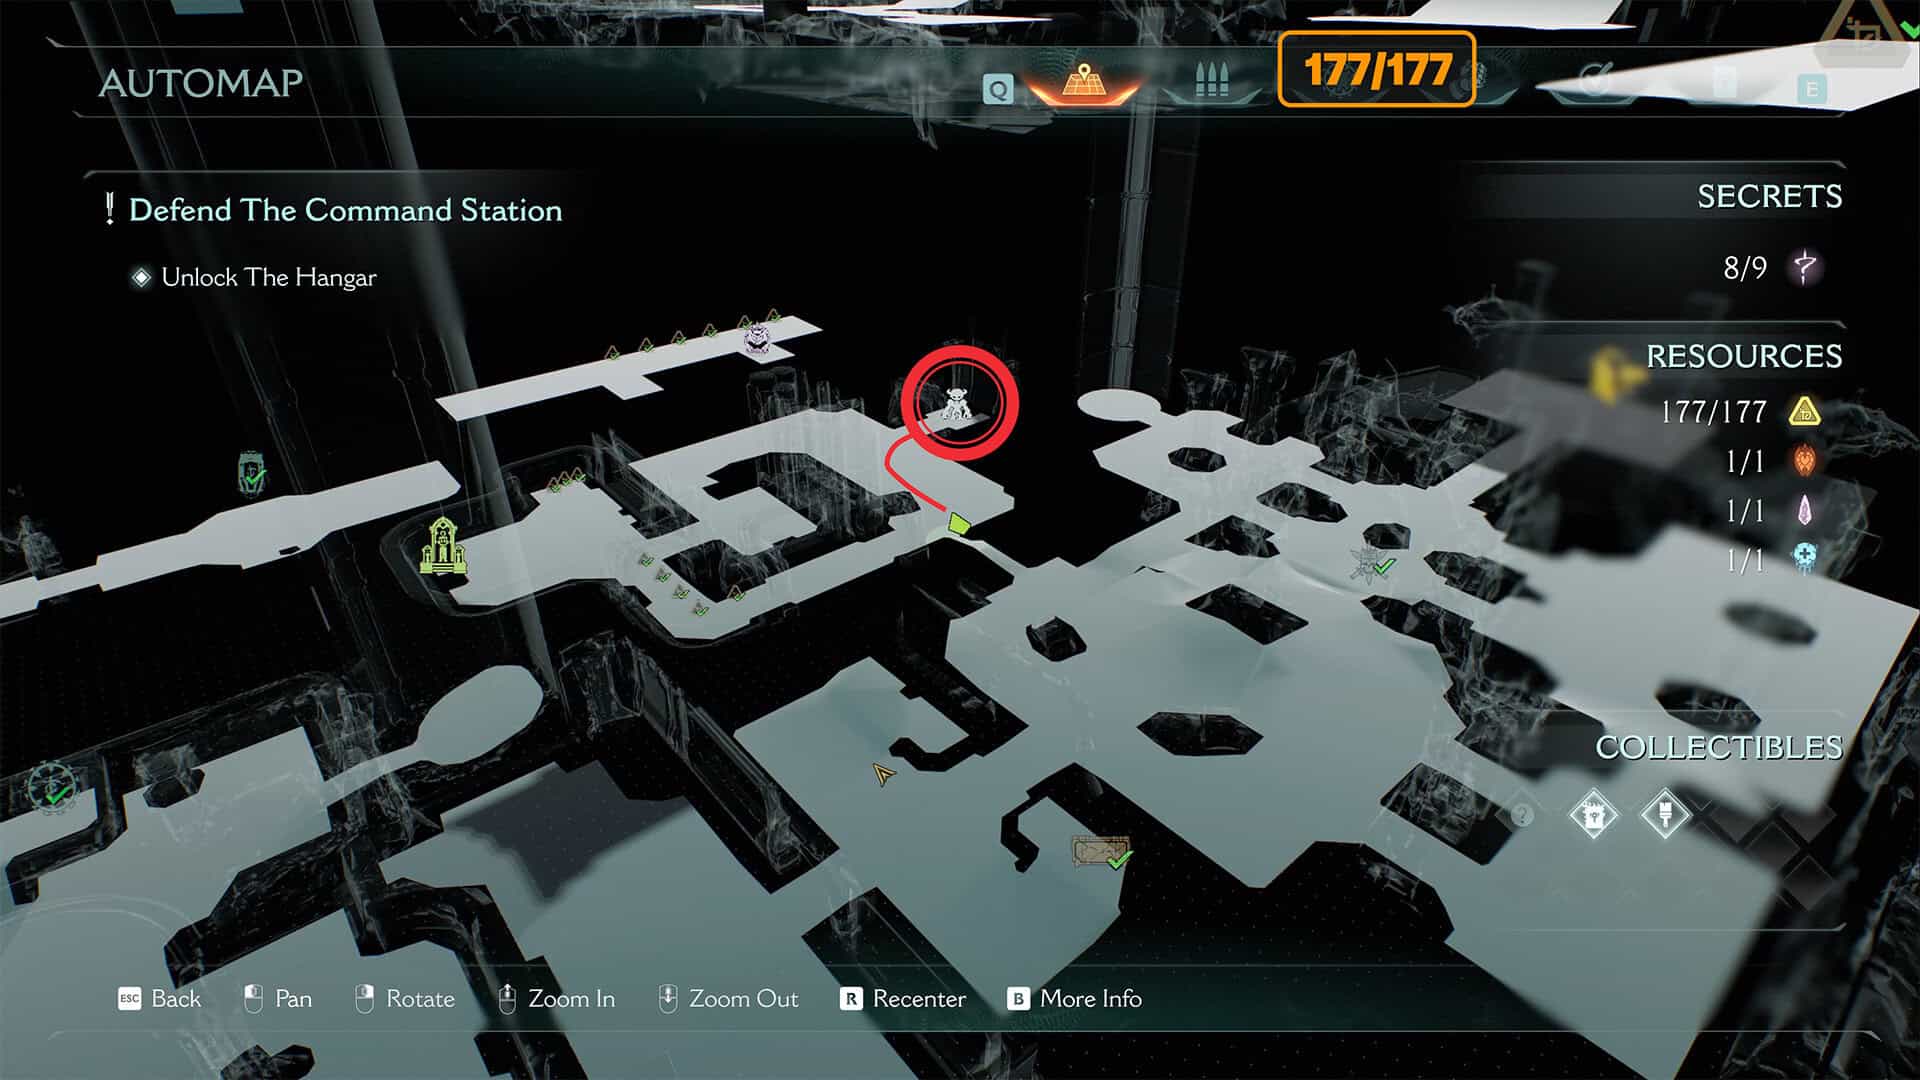
Now find the second purple door you need to complete the final challenge. They are located near the Sentinel Shrine. Behind the door, you will find a Kreed Maykr collectible toy and the final secret. These are all the items you can collect in this chapter.
-
- Sentinel Command Station toy location
-
- Sentinel Command Station toy





